Brew-tifully Bespoke: How to Upcycle a Sideboard into Your Dream Coffee Station
DIY Projects
📅 2026. 03. 16.
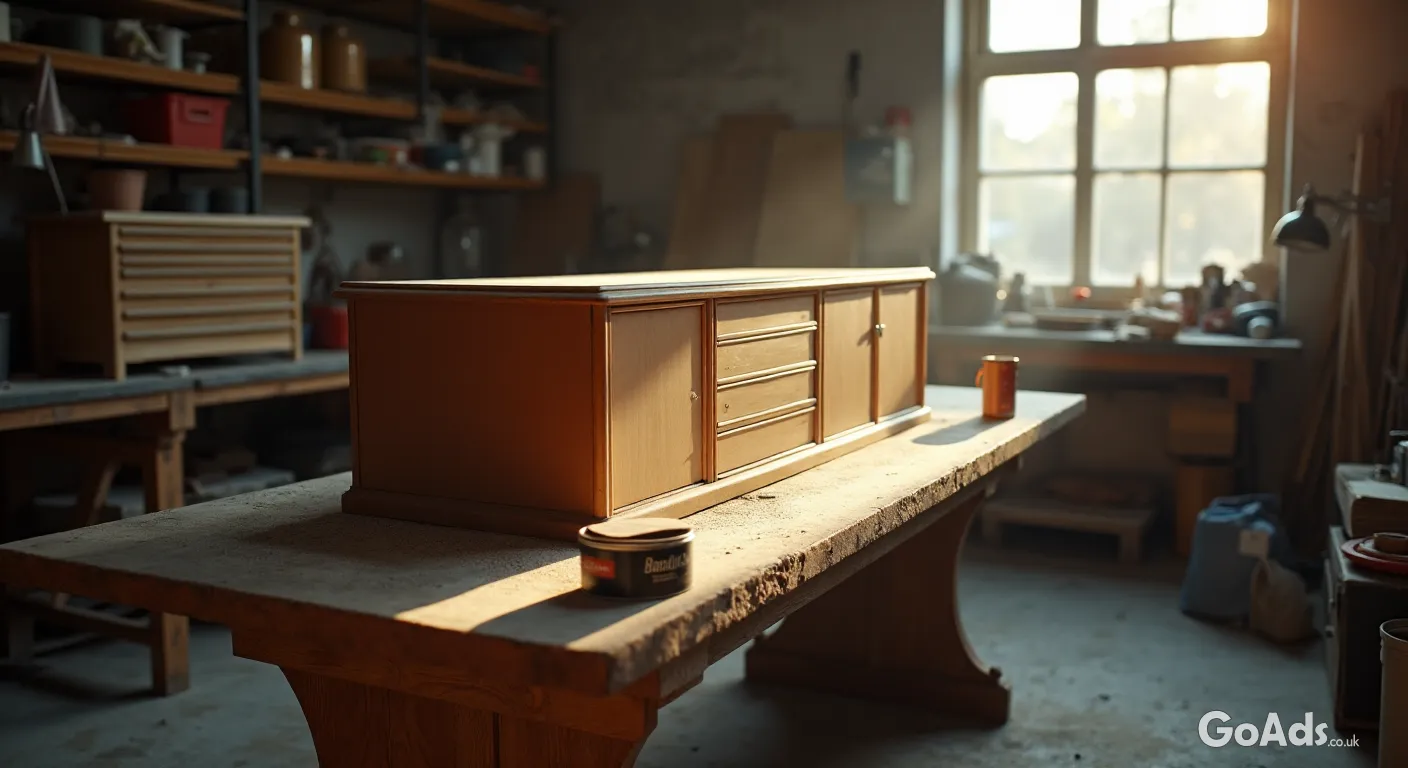
Give your morning routine a serious glow-up by transforming a pre-loved sideboard into a stunning home coffee bar. We show you how to sand, paint, and style your way to caffeine heaven.
The Rise of the Home Barista
Let’s be honest, we’re a nation obsessed with a good brew. Whether it’s a silky flat white or a punchy double espresso, having a dedicated space to prep your morning caffeine hit is the ultimate domestic luxury. But you don’t need a massive kitchen or a designer budget to make it happen. With a bit of elbow grease and a weekend of DIY, you can turn a dusty old sideboard into a bespoke coffee station that would make any hipster cafe jealous.
"The best part of DIY isn’t just the money you save; it’s the fact that no one else in the world has the exact same piece of furniture as you."
Step 1: Finding Your Diamond in the Rough
The secret to a great coffee station is the "bones." You’re looking for a solid wood sideboard, a small dresser, or even an old TV unit. Check local listings for "solid oak" or "vintage pine"—these take paint and stain much better than flat-pack MDF. Make sure the height is comfortable for standing and that there’s enough surface area for your machine, a grinder, and maybe a cheeky tray of biscuits.
Step 2: Prep is Everything
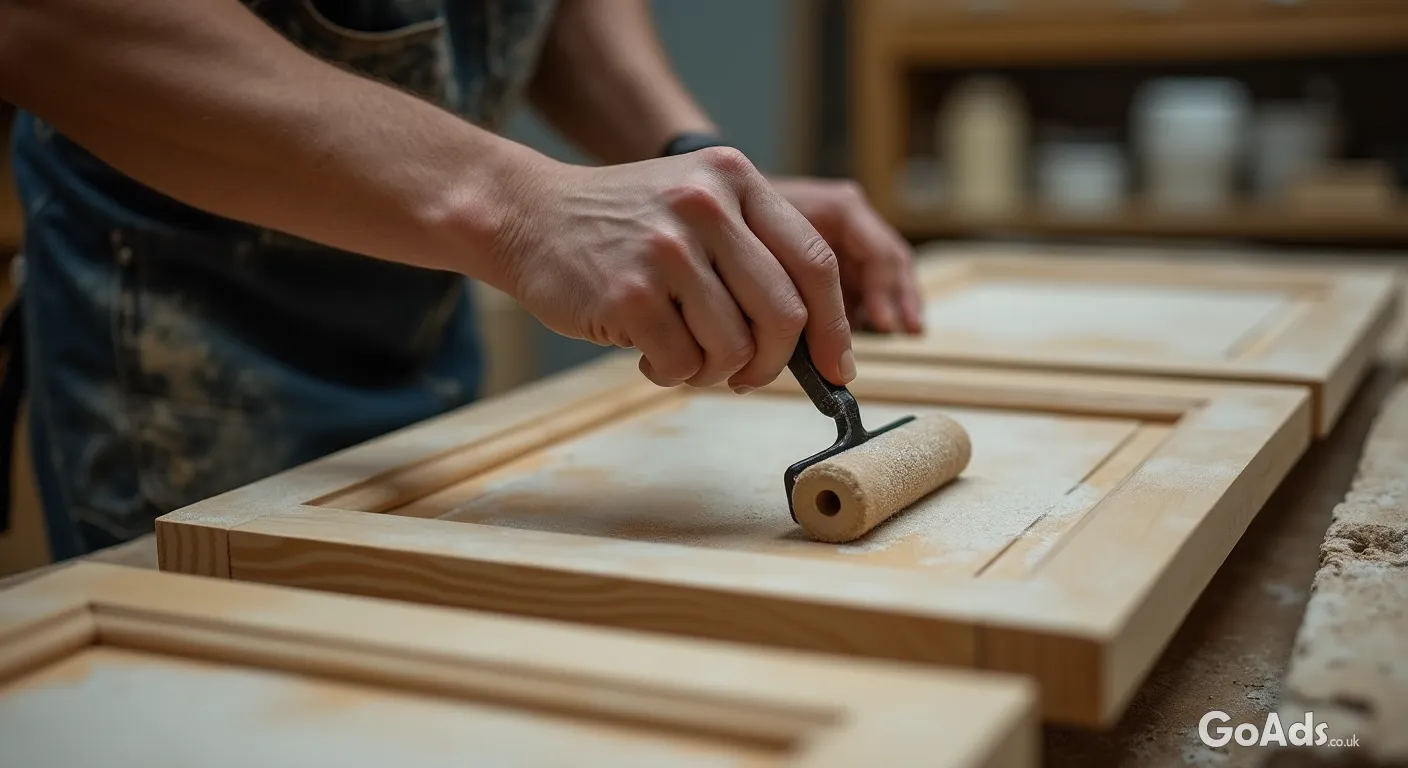
Before you even think about reaching for the paintbrush, you need to prep. Remove all the handles and hinges. If the piece has a thick varnish, you’ll need to give it a thorough sand. To get the job done right, make sure you have the correct power sanders and hand tools ready to go. Start with a coarse grit to strip the old finish and move to a fine grit for a smooth-as-butter surface.
What You’ll Need for the Build
A sturdy second-hand sideboard or cabinet
Sandpaper (various grits: 80, 120, and 240)
Furniture primer and hard-wearing eggshell paint
A drill and some brass hooks for mugs
New hardware (knobs or pull handles) for a modern look
A waterproof sealant for the top surface
Step 3: Adding the Glow-Up
Once your piece is sanded and wiped clean of dust, apply a high-quality primer. This ensures your colour stays vibrant and doesn’t peel off in six months. For the final look, deep forest greens, navy blues, or even a classic matte black are very "on-trend" right now. If you want more tips on maintaining a stylish home, dive into our Kitchen & Household guides for extra inspiration.
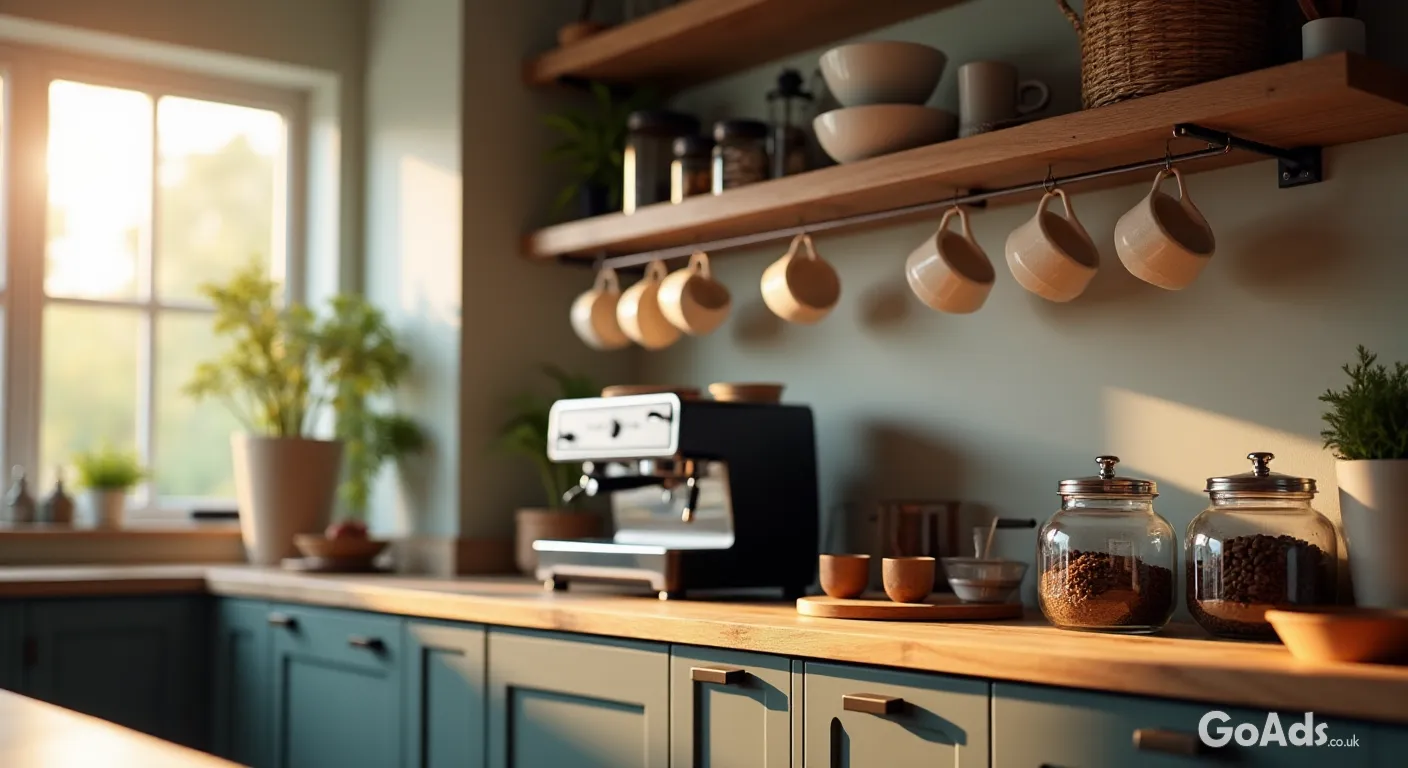
This is where the magic happens. A standard sideboard becomes a coffee station when you add the details. Consider drilling a "cable hole" in the back of the unit so you can hide those messy power leads. You can also screw small brass hooks into the underside of any shelving to display your favourite ceramic mugs. It keeps the counter clear and looks incredibly professional.
Step 5: Protecting the Surface
Coffee prep involves steam, heat, and the occasional spill. To protect your hard work, use a clear polyurethane sealant or a worktop oil on the top surface. This makes it wipe-clean and prevents those annoying white rings from hot cups. If you’re feeling extra fancy, you could even inlay a small piece of marble or tile for a truly high-end feel.
Top Tip: Use a small basket or an old wooden crate inside the cupboards to keep your coffee pods, filters, and bean bags organised and out of sight.
Step 6: Lighting and Styling
Don’t forget the atmosphere! Battery-powered LED puck lights under a shelf can illuminate your workspace beautifully. Finish the look with a small potted plant (like a spider plant or a succulent) and a glass jar for your sugar. Your new coffee nook isn’t just a place to make drinks; it’s a focal point of your home.
Ready to Start?
Building your own coffee station is one of the most rewarding weekend projects you can take on. It’s sustainable, budget-friendly, and adds genuine character to your kitchen. So, grab your sander, find a vintage gem, and get cracking. Your Monday morning self will thank you for it!










 Secure buying and selling
 Terms of Use
 GoAds.co.uk Facebook