The French Cleat Revolution: Build Your Own Modular Tool Wall
DIY Projects
📅 2026. 04. 08.
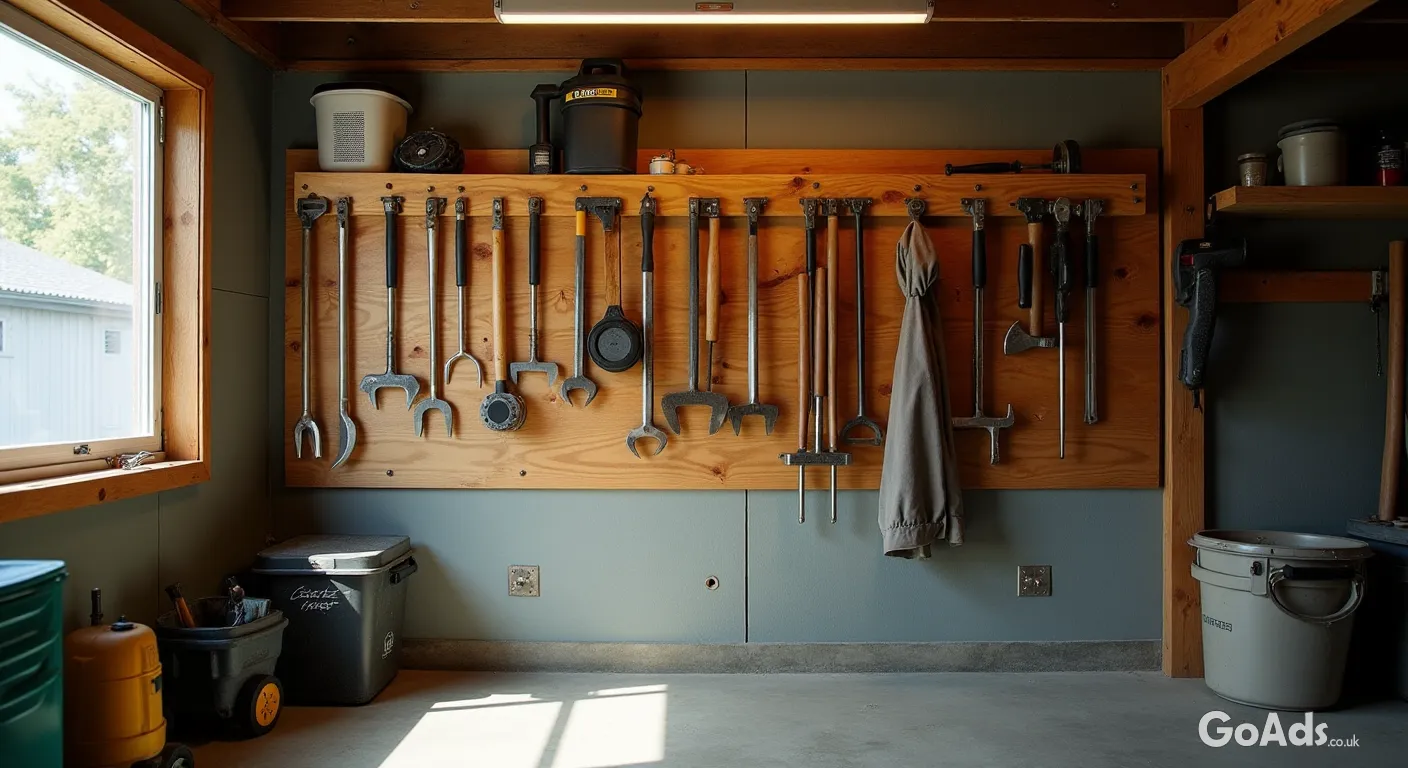
Stop wasting time hunting for spanners. Learn how to build a professional-grade, modular French cleat system to organise your workshop or garage like a pro.
The End of the Tool Box Scramble
We’ve all been there: you’re halfway through a project, covered in sawdust or grease, and you can’t find that 10mm socket or your favourite chisel. The "junk drawer" approach to tool storage is the enemy of productivity. If you want to level up your workspace, it’s time to look at the French cleat system. It’s the ultimate modular solution that grows with your collection, and the best part? You can build it yourself over a single weekend.
"A place for everything and everything in its place isn’t just a cliché; it’s the secret to enjoying your DIY time rather than spending it frustrated."
What Exactly is a French Cleat?
At its heart, a French cleat is just two pieces of timber cut at a 45-degree angle that interlock. One piece (the cleat) is mounted to the wall with the angle facing up and in. The other piece is attached to the back of a tool holder, shelf, or cabinet, with the angle facing down and out. Gravity does the rest, pulling the two pieces together for an incredibly strong, secure fit that requires no screws or nails to stay in place. This means you can move your tools around whenever you like. If you are just starting out, investing in quality hand and power tools is the first step before building your custom holders.
What You'll Need
18mm Plywood (Birch or Marine ply works best for strength)
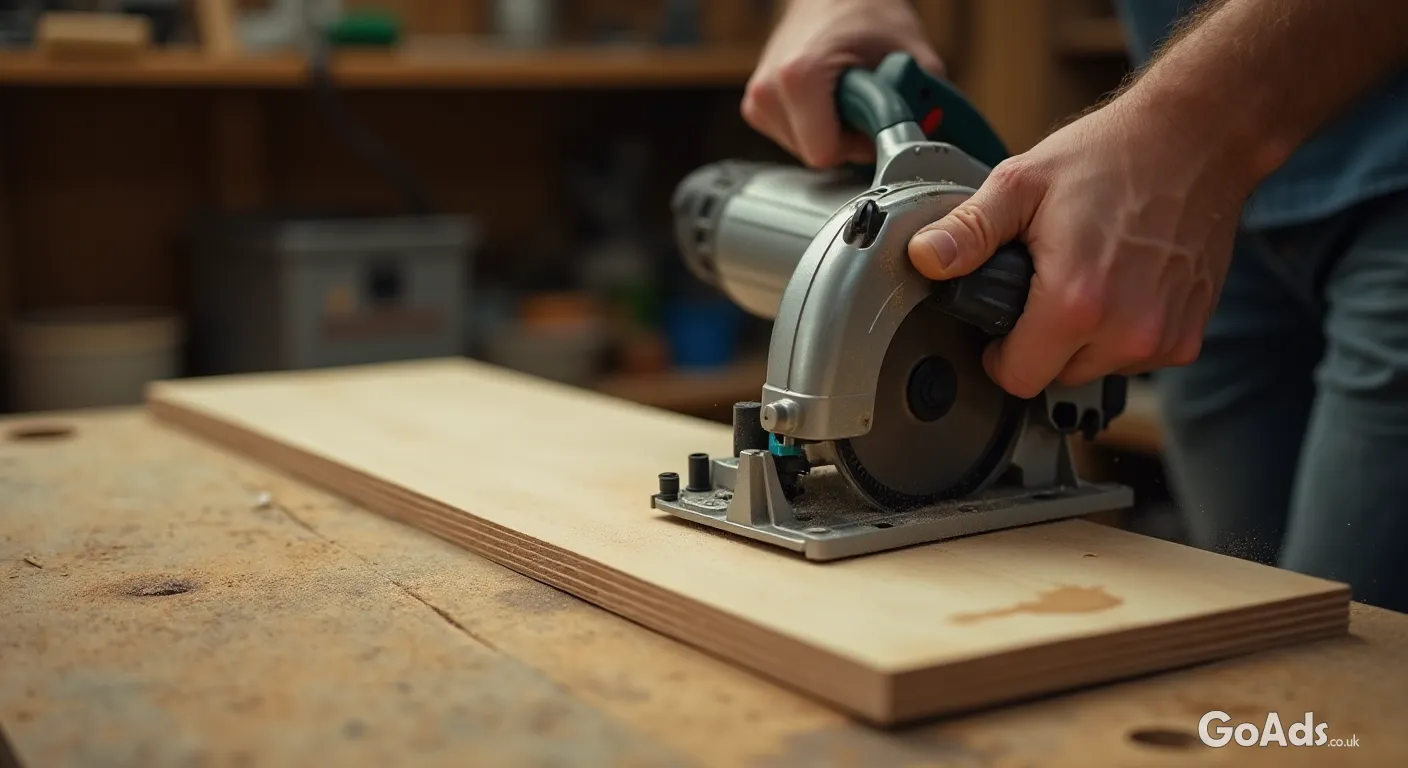
A Table Saw or Circular Saw with a guide rail
Spirit Level (Critical for a straight wall!)
Heavy-duty wall fixings and screws
Wood glue and a brad nailer (optional but helpful)
Step 1: Ripping the Cleats
Start by cutting your plywood into long strips, usually around 60mm to 100mm wide. Once you have your strips, tilt your saw blade to 45 degrees and rip each strip down the middle. You’ll end up with two matching cleats with perfectly angled edges. Pro tip: Don’t throw away your scraps! Even using offcuts from old wooden furniture can save you a fortune when making the individual tool holsters later on.
Step 2: Mounting to the Wall
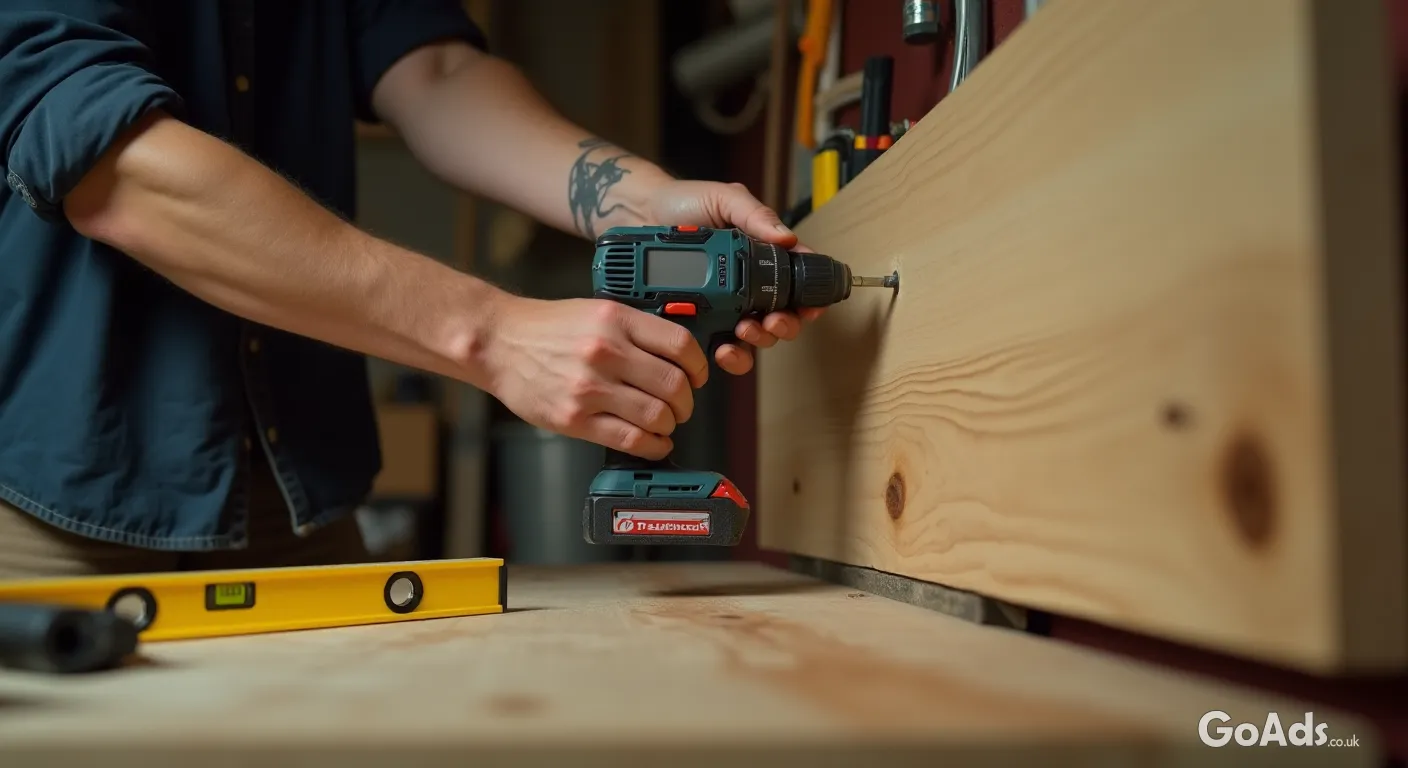
This is where the magic happens. Use a spirit level to mark out horizontal lines across your wall. Secure the wall-side cleats by screwing them directly into the wall studs (if you have a timber frame) or using Rawlplugs for masonry. Ensure the "pointy" end of the angle is facing away from the wall and upwards. Space your rows about 15-20cm apart to give yourself plenty of vertical room for different tool heights. This project is a staple for anyone following DIY projects online because it’s so satisfyingly tidy.
Tipp: Always use a spacer block when mounting your rows. It ensures every cleat is perfectly parallel without having to measure every single time.
Step 3: Creating Your Tool Holders
Now for the fun part. For every tool you own, build a small custom bracket or "holster." For a drill, a simple box with a slot works. For hammers, a small shelf with holes. Just attach a small piece of your "downward-facing" cleat to the back of each holder, and hook it onto the wall. If you’re planning a larger overhaul, this fits perfectly into a broader garden and home improvement plan to turn a messy shed into a functional hobby hub.
Why Modular is Better
The beauty of this system is that it’s never "finished." As you buy new gadgets or change hobbies, you simply slide your holders along the wall or build new ones. It’s a living organisation system that adapts to your workflow. No more permanent holes in the wall every time you buy a new set of screwdrivers. Just hook, slide, and get back to work!









 Secure buying and selling
 Terms of Use
 GoAds.co.uk Facebook