The Ultimate Home Office Glow-Up: Building a Custom Floating Desk from Reclaimed Scaffold Boards
DIY Projects
📅 2026. 03. 16.
Transform your workspace without the designer price tag. This guide shows you how to source and build a stunning, industrial-style floating desk using reclaimed materials.
The Rise of the Bespoke Workspace
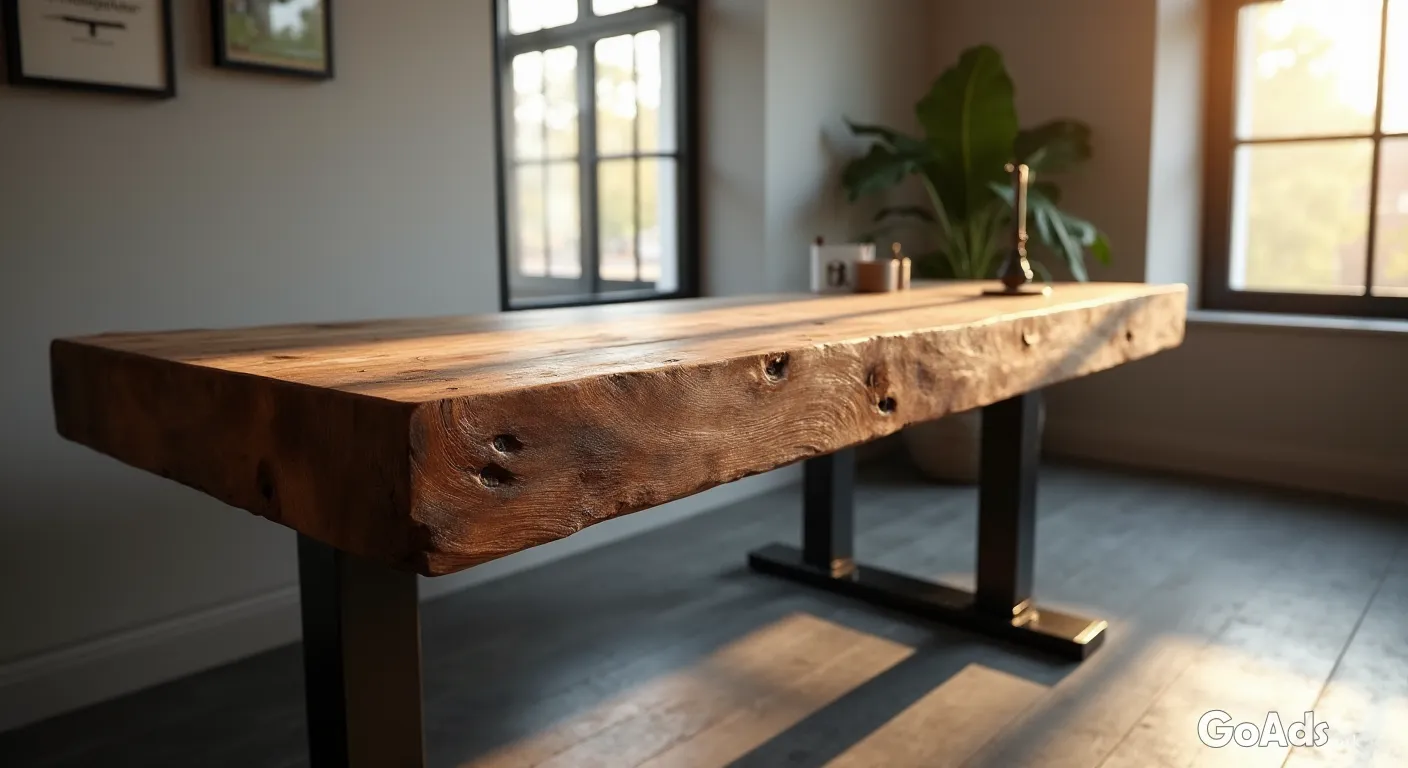
Let’s be honest, the standard flat-pack desk often lacks soul. If you are spending forty hours a week staring at a screen, you deserve a workspace that inspires you. A floating desk made from reclaimed scaffold boards isn’t just a budget-friendly project; it’s a statement piece that brings texture and history into your home office. Best of all, it doesn’t require a master carpenter’s skill set to pull off.
Sourcing Your Timber
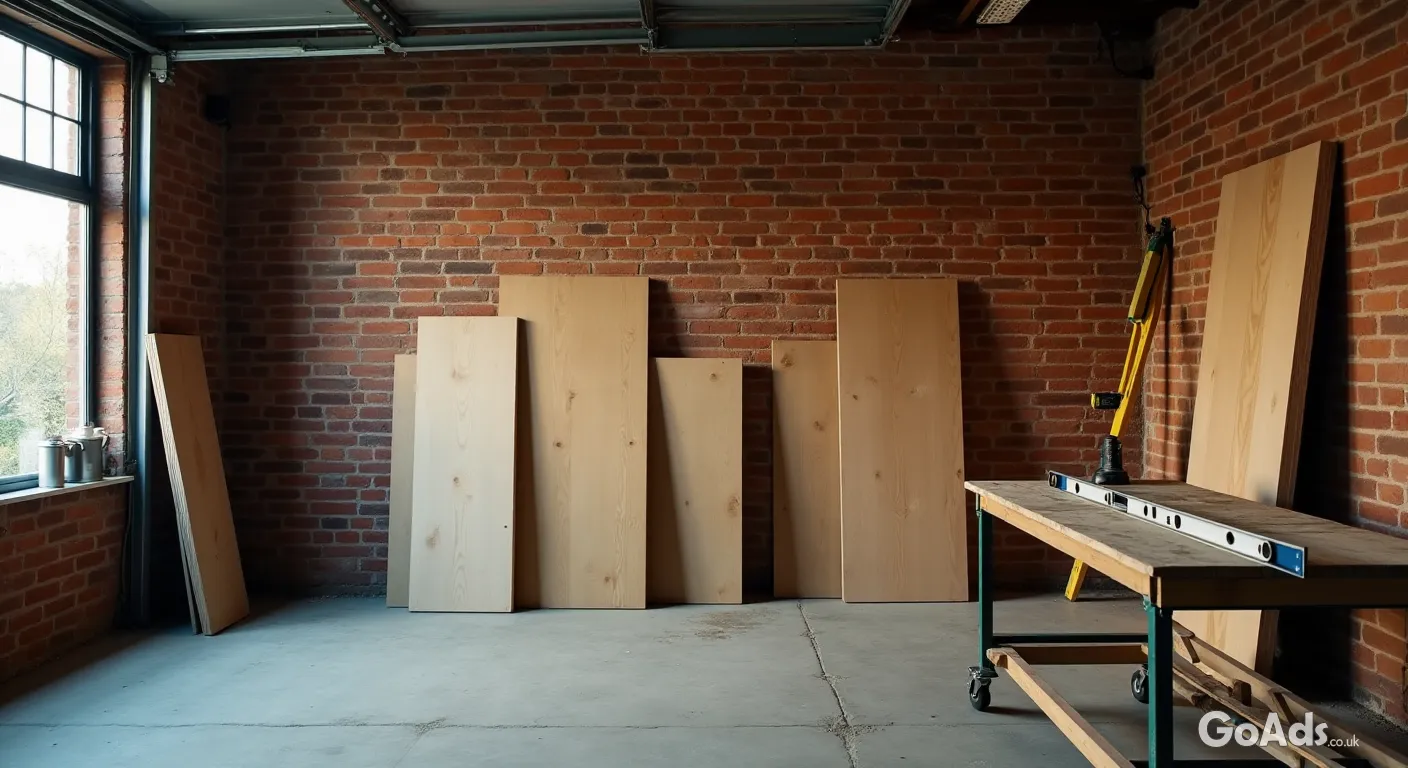
The secret to a great industrial look is starting with the right wood. You can often find fantastic construction materials through local listings where builders are clearing out leftover supplies. Look for boards that are straight and have interesting grain patterns or "character" marks like old nail holes, which add to the vintage charm.
“Reclaimed wood tells a story that new timber simply can’t match. It’s the ultimate way to blend sustainability with high-end interior design.”
What You Will Need
Two or three 2.4m scaffold boards (depending on depth)
Heavy-duty industrial shelf brackets
Wood glue and biscuit joints (optional)
An orbital sander and various grit papers
Wood wax or Danish oil
Preparation is Key
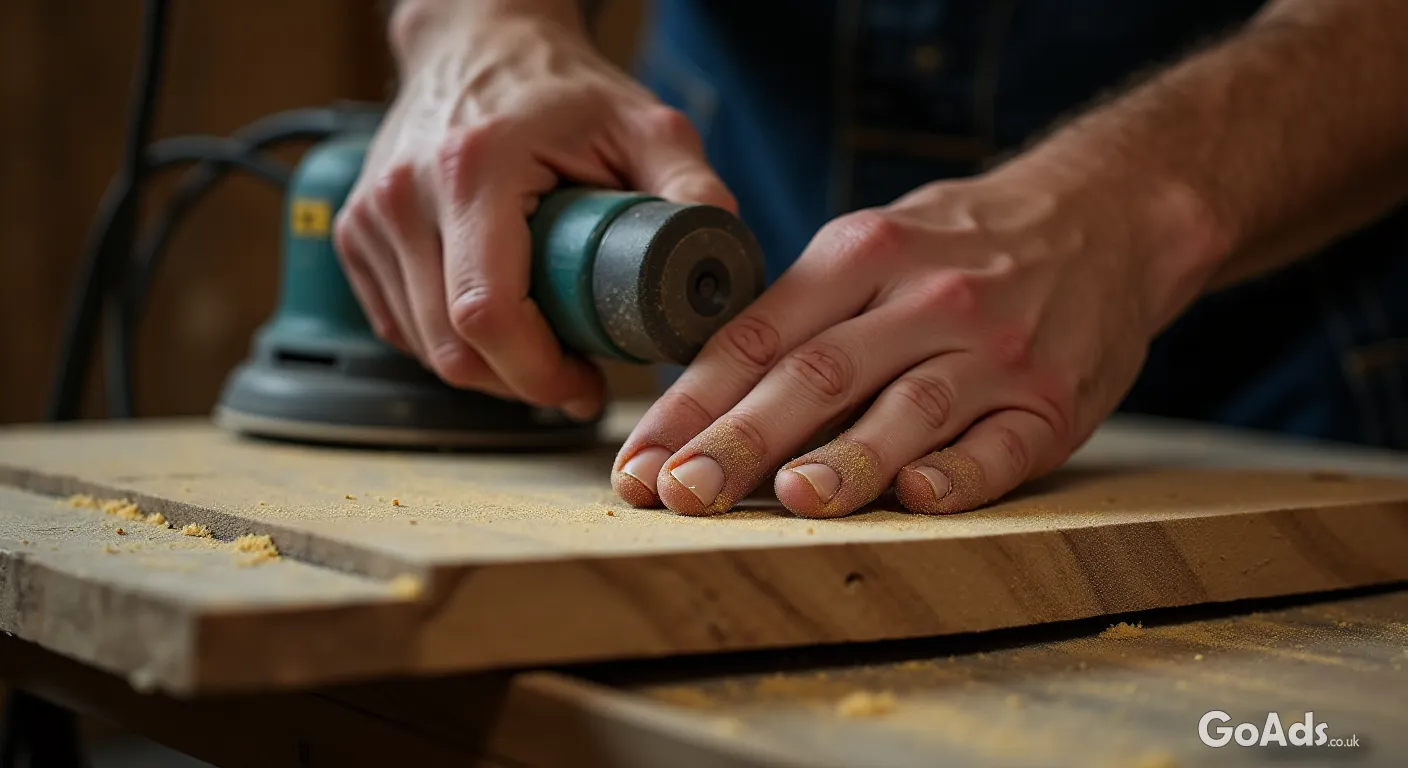
Scaffold boards are notoriously rough and ready. You’ll need to spend a significant amount of time sanding them down to avoid splinters. Start with a coarse 40 or 60 grit to level out any major bumps, then work your way up to 120 and finally 240 for a buttery-smooth finish. Don’t forget to round off the edges where your wrists will rest!
Joining the Boards
To create a deep enough desk, you’ll likely need to join two boards side-by-side. Use wood glue along the edges and clamp them tightly for at least 24 hours. For extra strength, you can use a dowel kit or metal plates on the underside to ensure the desktop stays perfectly flat over time.
Top Tip: Always check your walls before you start drilling. A heavy timber desk needs solid masonry or studs to stay secure.
The Finishing Touch
Once your timber is smooth and joined, it’s time for the finish. A dark oak wax gives a classic industrial vibe, while a clear matte varnish preserves the natural pale tone of the pine. Applying the finish is the most satisfying part, as it really makes the wood grain pop. For more inspiration on choosing the right look, check out our latest home improvement guides for the latest interior trends.
Mounting and Safety
Because scaffold boards are heavy, you cannot skimp on the hardware. Use heavy-duty steel brackets designed to hold at least 50kg. If you are unsure about your wall type, it is worth investing in a stud finder. You can find all the essential power tools needed for this job in the classifieds if you don’t want to buy them brand new at retail prices.
Nothing ruins a floating desk aesthetic faster than a mess of wires. Consider drilling a 50mm hole in the corner of the boards and fitting a stylish brass or matte black cable grommet. This allows you to hide all your PC and monitor cables underneath the desk for that clean, minimalist look.
The DIY Checklist
Measure your space twice before cutting boards
Check for level multiple times during installation
Pre-drill all holes to prevent the wood from splitting
Use wall plugs that are appropriate for your specific wall type
Final Thoughts
Building your own furniture is incredibly rewarding. Every time you sit down to work, you’ll be reminded of the effort you put in. Not only have you saved money, but you’ve also created a piece of furniture that is built to last and fits your space perfectly. Happy building!














 Secure buying and selling
 Terms of Use
 GoAds.co.uk Facebook