Mudroom Magic: How to Build a Bespoke Boot Room Bench for Your Hallway
DIY Projects
📅 2026. 03. 31.
Tired of tripping over wellies and coats?? Discover how to build your own stylish boot room bench using reclaimed materials and basic tools.
The Hallway Headache
Let's be honest, the British weather doesn't exactly play nice with our flooring. Between the muddy wellies, soggy raincoats, and the endless pile of trainers by the front door, the hallway often becomes the most chaotic room in the house. But what if you could turn that clutter into a Pinterest-worthy focal point? Building a bespoke boot room bench is one of those high-impact DIY projects that adds both value and sanity to your home life.
A well-designed boot room bench isn't just about storage; it's about creating a dedicated space for those transition moments between the wild outdoors and your cosy sanctuary.
Planning Your Space
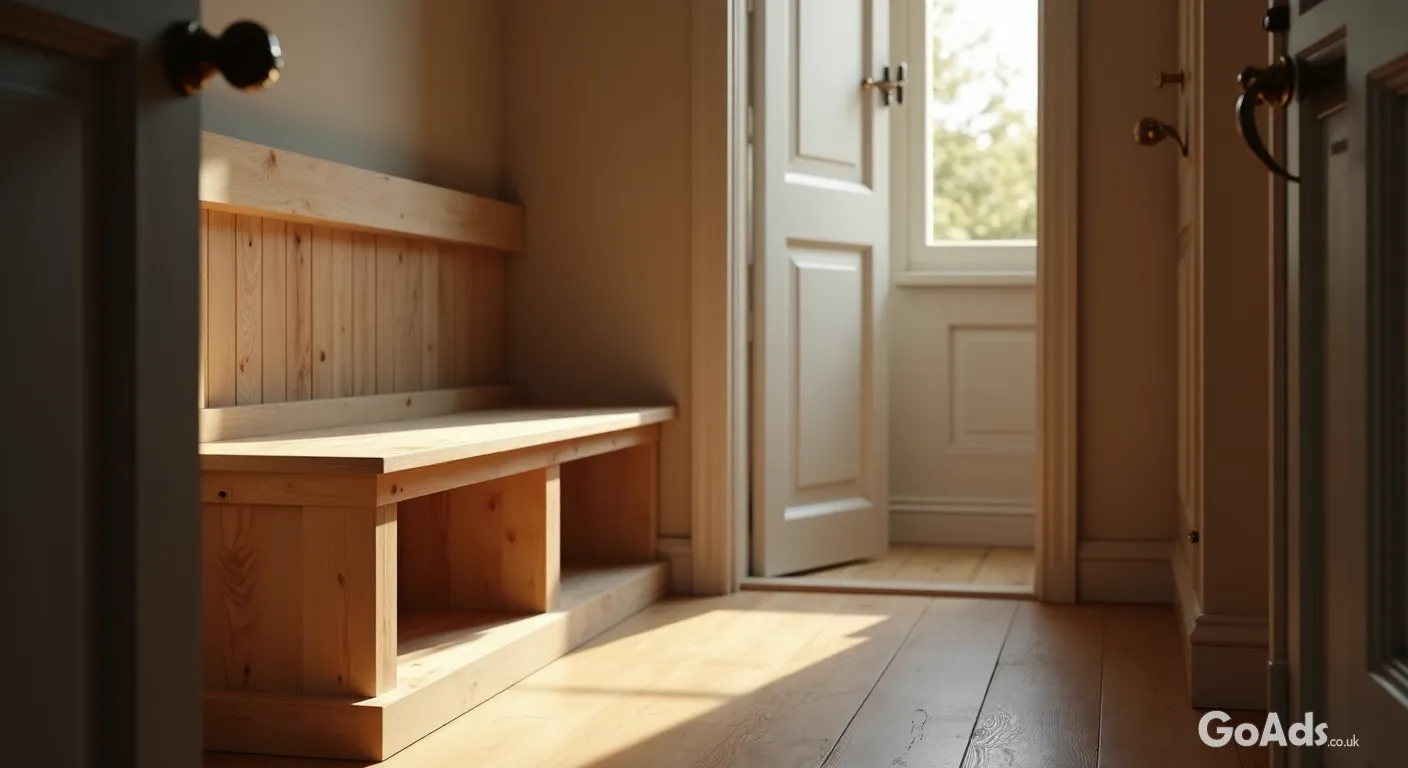
Before you start sawing away, you need a solid plan. Measure your hallway carefully. You want a bench that is deep enough to sit on comfortably (usually around 40-45cm) but not so wide that it blocks the thoroughfare. If you have a narrow Victorian terrace, every centimetre counts! Think about whether you want open cubby holes for shoes or a flip-top lid for hidden storage. If you are looking for more inspiration on layout, check out our Home & Furniture section for some great layout ideas.
Sourcing Your Materials
You don't need to spend a fortune at a high-end timber yard. For a rustic, chunky look, reclaimed scaffold boards or thick plywood are fantastic choices. You can often find surplus timber or offcuts by browsing the construction and renovation listings. Not only is this better for your wallet, but it also gives your furniture a story and a unique character that flat-pack furniture just can't match.
The Essential Kit List
A reliable tape measure and pencil
Hand saw or mitre saw for clean cuts
Power drill and wood screws
Sandpaper (various grits from 80 to 120)
Spirit level (to avoid that wonky seat!)
Wood glue for extra stability
Getting the Right Gear
Having the right tools for the job makes a world of difference. If you are just starting your DIY journey, don't feel the need to buy everything brand new. High-quality used power tools are often available at a fraction of the cost and will last you through dozens of future projects. Always remember to check the battery health and general condition before making a purchase.
The Build Process
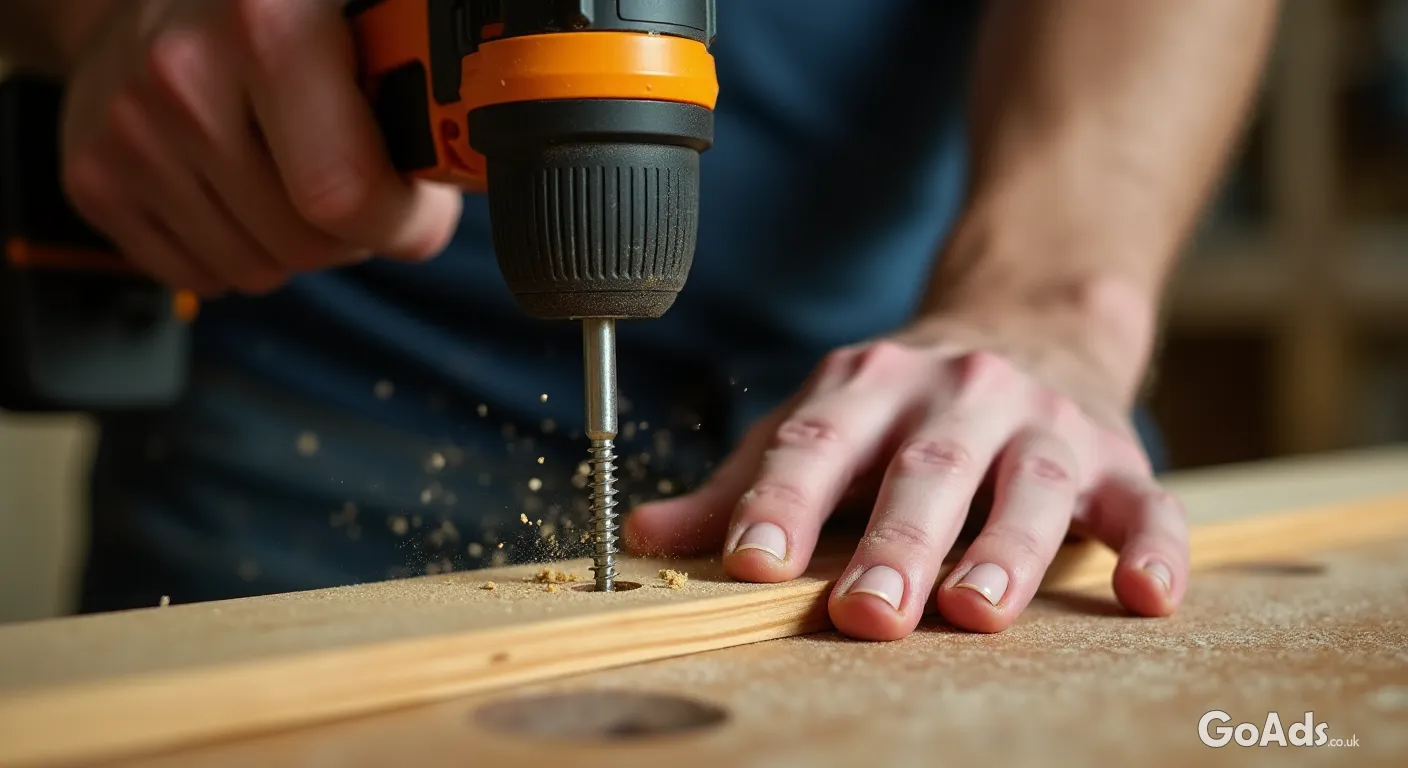
Start by building the outer frame. If you're going for a cubby design, create the vertical dividers first. Use wood glue in addition to screws to ensure the bench doesn't wobble when someone sits on it. For a professional finish, "countersink" your screws—meaning you drill a small hole first so the screw head sits flush or slightly below the surface of the wood. You can then hide these with wood filler later.
Top Tip: Always use a spirit level on every single piece. Hallway floors in older UK homes are notorious for being uneven!
The Finishing Touches
Sanding is the secret to a professional look. Spend time getting the wood smooth, especially on the edges where people will be sitting. For a classic British country look, consider painting the base in a muted eggshell green or navy, while leaving the wooden seat natural with a clear wax or oil. This contrast looks stunning and hides those inevitable scuff marks from boots.
Reclaim Your Hallway
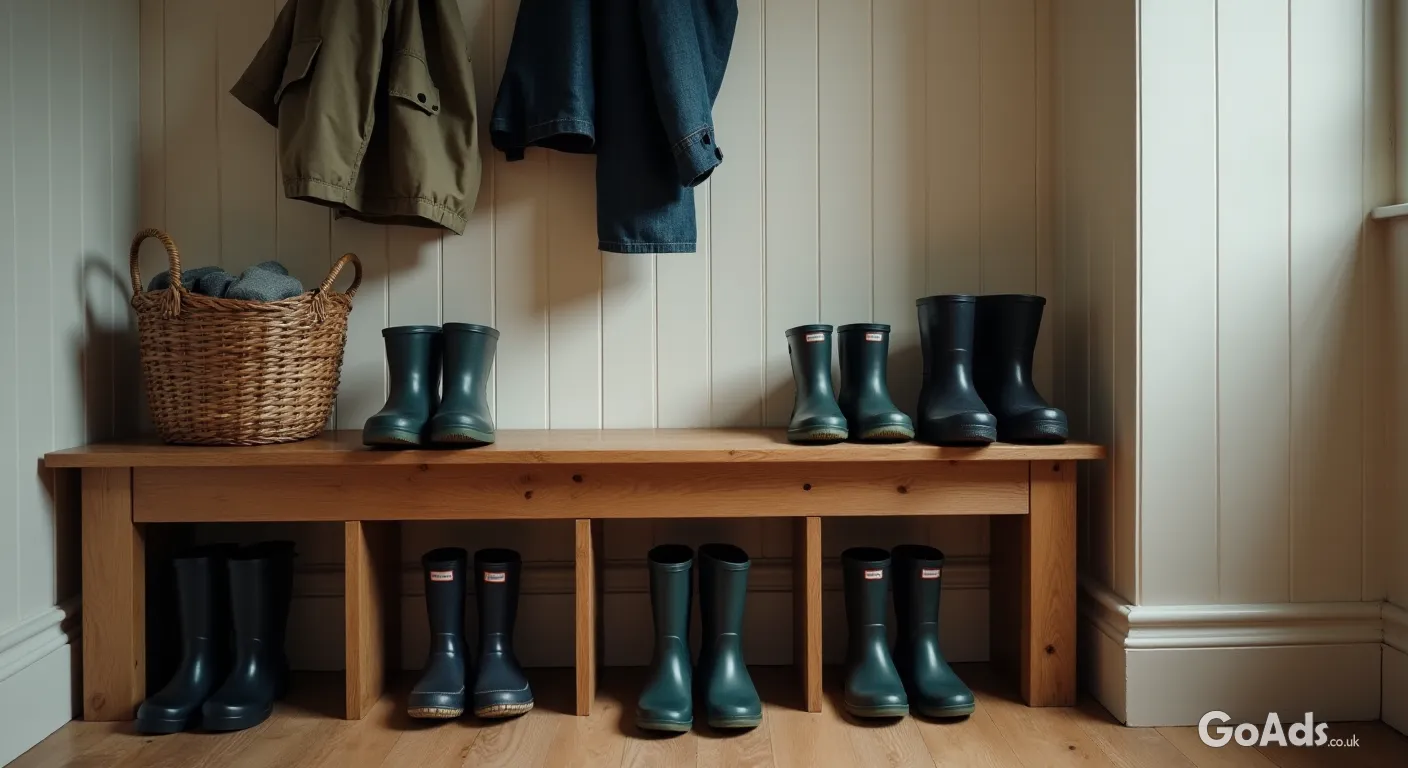
Once the paint is dry and the wax is buffed, move your new masterpiece into place. Add some wicker baskets for the cubbies to hide the smaller bits like hats and gloves, and maybe a few sturdy hooks above for coats. Suddenly, that cluttered corridor feels like an organised, welcoming entrance. Happy building!











 Secure buying and selling
 Terms of Use
 GoAds.co.uk Facebook