The Muddy Paws Station: How to Build a DIY Dog Wash That Saves Your Carpets
DIY Projects
📅 2026. 05. 03.
Tired of muddy footprints trailing through your hallway after a rainy walk? This guide shows you how to build a professional-grade dog wash station at home.
The Great British Weather vs. Your Hallway
Let's be honest: if you live in the UK, you're no stranger to a soggy, muddy walk. Whether it's a drizzle in the Peaks or a downpour in the Cotswolds, our four-legged friends have a magical ability to find every puddle in a five-mile radius. The result? A hallway that looks like a swamp and a very stressed owner with a towel. Building a dedicated dog wash station in your utility room, garage, or boot room is the ultimate home upgrade that pays for itself in saved cleaning time.
Why Go DIY?
Professional grooming tubs can cost a small fortune, and many aren't designed to fit the specific aesthetic of a British home. By building your own, you can tailor the height to your own back (no more kneeling on the floor!) and choose materials that match your existing decor. Plus, it adds serious value to your property for fellow pet lovers. To get started, you'll need the right gear, so check out the latest home and garden tools available from local sellers to make the job easier.
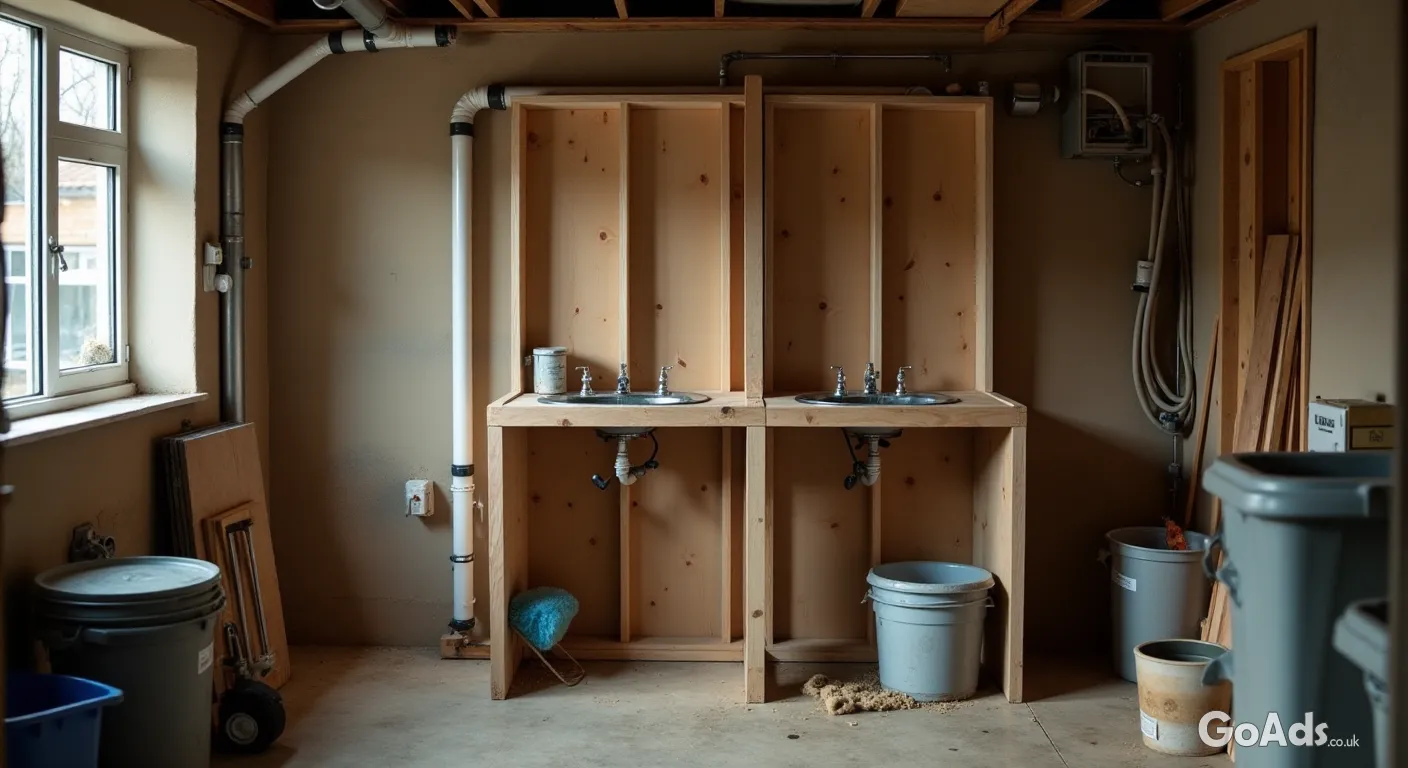
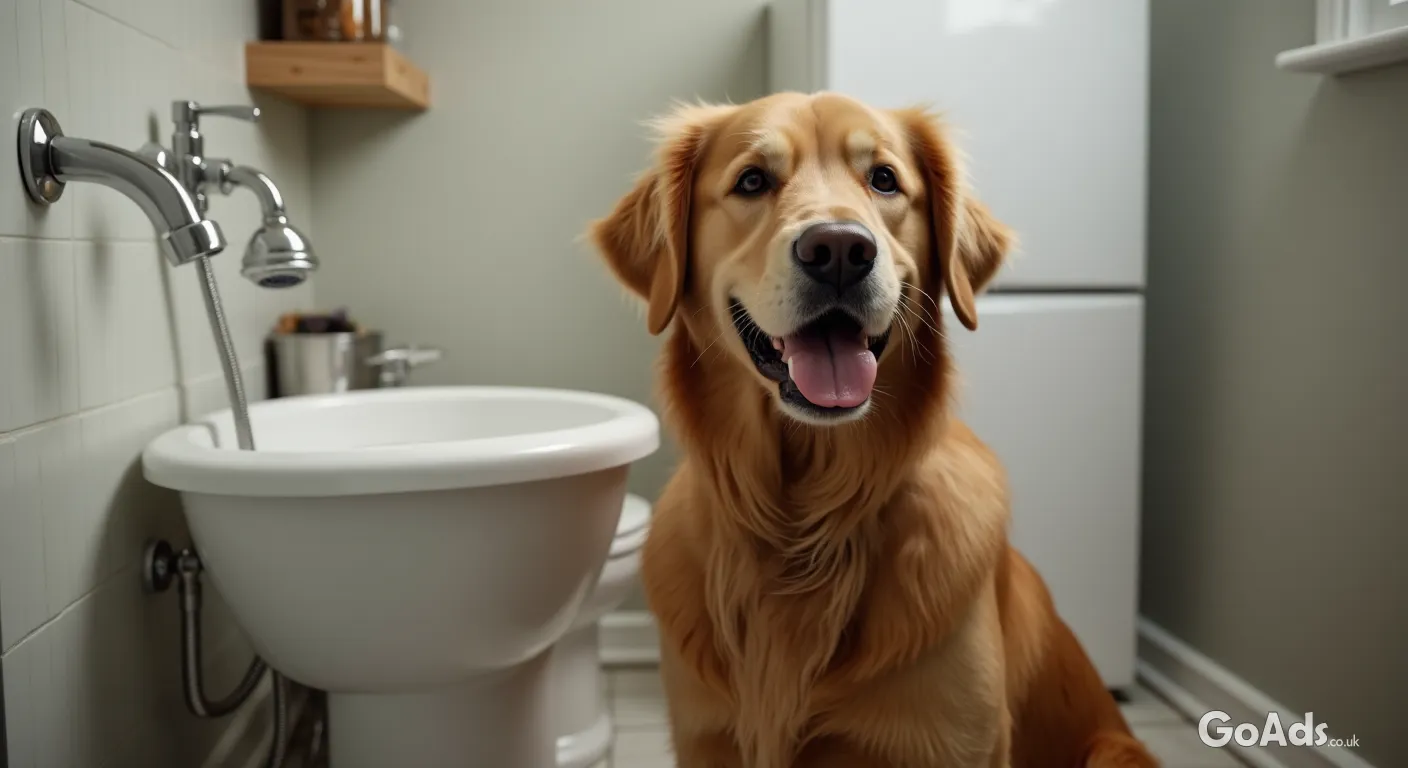
A raised dog wash isn't just a luxury; it's a back-saver. Positioning the basin at waist height makes the whole process a breeze rather than a chore.
Location, Location, Location
The best spot for a dog wash is near an entrance. A utility room is the gold standard because you likely already have plumbing and drainage nearby. If that's not an option, a corner of the garage or even a sheltered outdoor area with a hot-water tap can work. Just remember: you need a solid floor that can handle weight and a lot of splashing.
The Essential Kit List
A sturdy base (timber frame or masonry)
A deep basin or a low-profile shower tray
Waterproof wall cladding or subway tiles
A thermostatic mixer valve (to prevent scalding)
A flexible shower hose with a trigger head
A heavy-duty hair trap for the drain
Plumbing Without the Panic
You don't need to be a master plumber to set this up, but you do need to be methodical. Tapping into existing hot and cold water lines is usually straightforward with push-fit connectors. The most important part is the drainage. Dog hair is the enemy of pipes, so ensure your waste pipe is at least 40mm wide and fitted with an easily accessible trap that you can clear out after every wash.
This is where most DIY projects fail. Dogs shake—it's what they do. You need to waterproof the walls up to at least shoulder height of your dog. Using a tanking kit (the same stuff used for wet rooms) behind your tiles is a must. If tiling feels like too much faff, consider PVC wall panels; they are 100% waterproof, easy to wipe down, and come in some very stylish finishes these days.
The Comfort Factor
Think about the experience for your pup. A cold, slippery surface will make them hate bath time. Line the bottom of your wash station with a heavy-duty, non-slip rubber mat. Also, consider adding a leash hook to the wall. It keeps them secure and prevents any "great escapes" mid-lather, which usually results in a very wet bathroom and a very frustrated human.
Step-by-Step Build Order
Build and level the supporting frame
Install the basin and connect the waste pipe
Apply waterproof tanking to the surrounding walls
Tile or panel the splash zone
Fit the shower mixer and hose
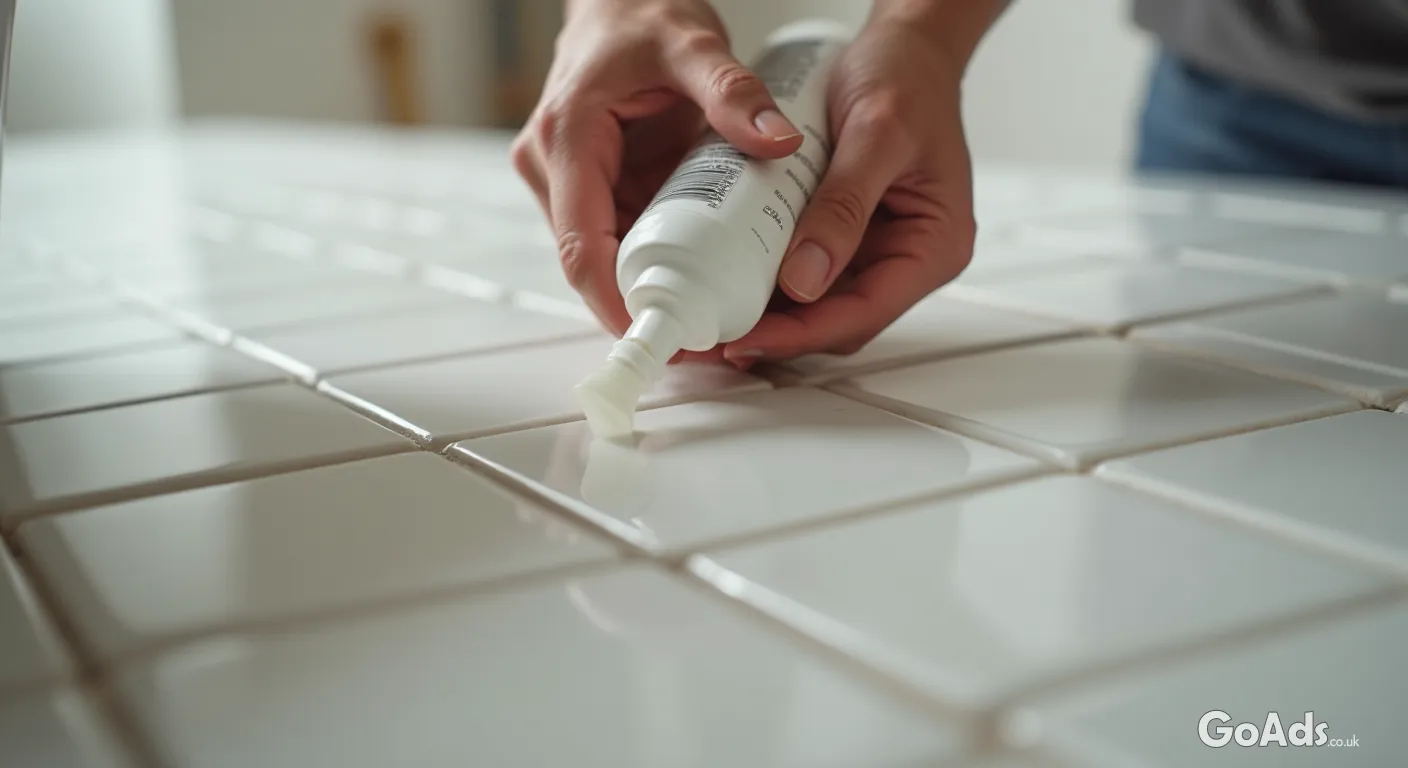
Seal all edges with high-quality silicone
Finishing Touches
Once the structure is sound, it's time for the "shelfie" treatment. Add some rustic wooden shelves for shampoos and brushes, and perhaps some sturdy hooks for those oversized drying towels. For more inspiration on improving your living space and tackling your next home improvement task, head over to our DIY projects section for expert guides and community tips.
Maintenance and Safety
Check your silicone seals every six months to ensure no water is seeping behind the structure. Always test the water temperature on your own wrist before spraying your dog—their skin is more sensitive than ours. With a bit of weekend effort, you'll have a professional-looking setup that keeps the mud exactly where it belongs: outside.









 Secure buying and selling
 Terms of Use
 GoAds.co.uk Facebook