The Al Fresco Chef: How to Build a Compact BBQ Prep Station on a Budget
Garden & Home Improvement
📅 2026. 05. 06.
Stop running back and forth to the kitchen this summer. Learn how to build a stylish, functional BBQ prep station using reclaimed materials and basic tools.
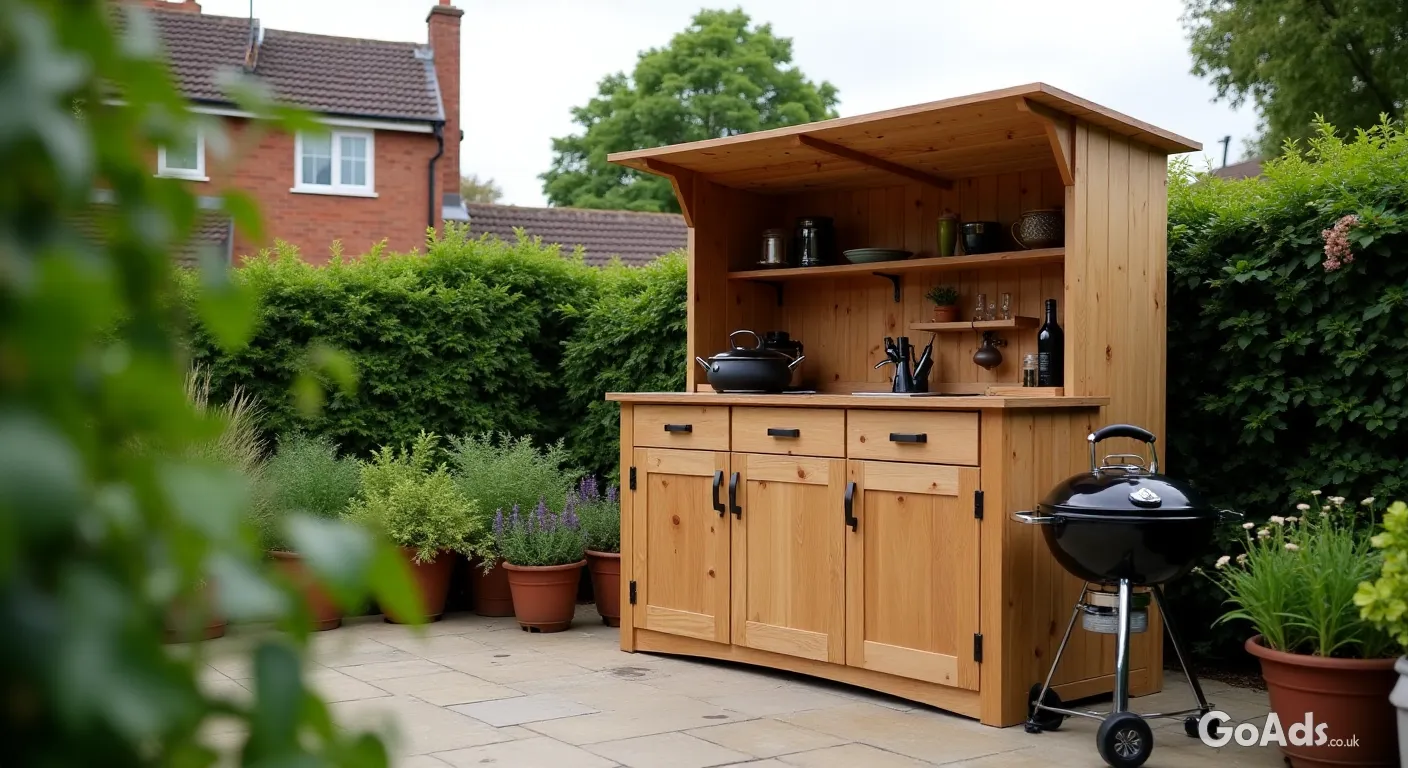
Level Up Your Grill Game
With the days finally getting longer and the sun making a welcome appearance, there's nothing quite like the smell of charcoal in the air. But let's be honest: the constant trekking back and forth to the kitchen for a clean knife, a cold drink, or a pinch of salt can really ruin the host's vibe. A dedicated outdoor prep station is the game-changer you didn't know you needed, providing a sturdy surface for slicing, dicing, and resting those steaks.
Sourcing Your Materials Sustainably
Building a prep station doesn't mean a triple-digit bill at the local timber merchant. The best stations are often the ones with a bit of character. Look for reclaimed pallet wood, old scaffolding boards, or even an unloved potting bench that just needs a bit of structural reinforcement. You can often find fantastic raw materials by browsing garden and plant classifieds, where people often list surplus timber or garden furniture that's perfect for upcycling.
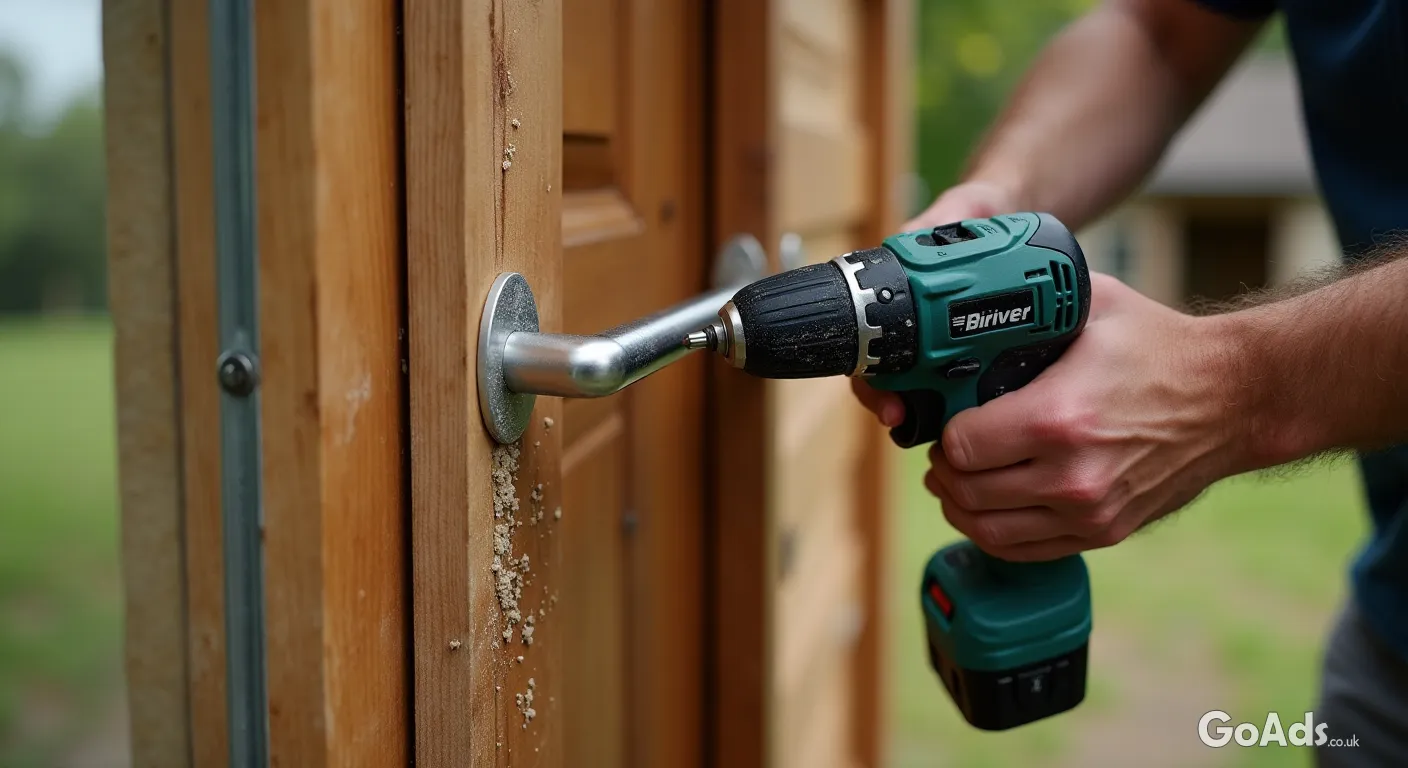
The Essential Tool Kit
You don't need a professional workshop to pull this off. A simple frame can be assembled with a handsaw, a tape measure, and a decent drill. If you are starting from scratch or looking to upgrade your kit, it is worth checking out a quality set of pre-loved tools to save a packet while getting professional-grade performance. A spirit level is your best friend here—nobody wants their sausages rolling off a wonky countertop!
"The secret to a stress-free BBQ isn't just the marinade; it's having everything you need within arm's reach before the coals are hot."
Step 1: Building the Skeleton
Start by creating a simple rectangular frame for the top and a matching one for the base shelf. Use 4x4 posts for the legs to ensure the station is heavy enough to withstand a British gust of wind. Screw the frames to the legs at your preferred height—usually about 90cm, which is standard kitchen worktop height. Don't forget to pre-drill your holes to prevent the wood from splitting!
Step 2: Choosing the Right Worktop
This is the most important part. While wood looks great, it needs a lot of maintenance. For a more durable surface, consider using an old piece of granite worktop, some leftover floor tiles, or even a large paving slab. It provides a heat-resistant area where you can set down hot trays without worrying about scorch marks.
Must-Have Features for Your Station
Heavy-duty hooks for your tongs and spatulas.
A magnetic strip for your prep knives.
A built-in bottle opener (essential for the chef).
A lower shelf for storing charcoal bags or heavy cast-iron pans.
Lockable castors if you want to move it into the shed over winter.
Step 3: Storage and Organisation
A prep station is only as good as its storage. Add a couple of rails on the side for tea towels and consider installing a small spice rack on the uprights for your rubs and oils. If you use reclaimed wood, give it a thorough sanding and a couple of coats of food-safe outdoor oil to protect it from the inevitable burger grease and rain showers.
Weatherproofing Your Hard Work
British weather is unpredictable, so protection is key. If you haven't used weather-resistant materials like cedar or larch, make sure you apply a high-quality wood preserver. During the winter months, a simple waterproof heavy-duty cover will keep your station looking fresh for years to come.
Get Inspired for More Projects
Once you've mastered the prep station, you might find the DIY bug has well and truly bitten. There are endless ways to customise your garden, from built-in seating to custom lighting rigs. For more inspiration and step-by-step guides on improving your home, dive into our DIY projects magazine section for your next weekend challenge.
The Finishing Touch: Lighting
If you enjoy a late-night grill, don't forget the lighting. Battery-powered LED strips under the worktop lip or a simple clamp-on desk lamp can make all the difference when you're trying to judge if those chicken thighs are perfectly cooked in the twilight. Happy building, and even happier grilling!