The Thrifty Gardener's Guide to Building Raised Beds from Reclaimed Timber
Garden & Home Improvement
📅 2026. 03. 16.
Transform your outdoor space sustainably by building your own raised beds using reclaimed materials. This guide covers sourcing timber, safety tips, and easy assembly.
Why Raised Beds are a Garden Essential
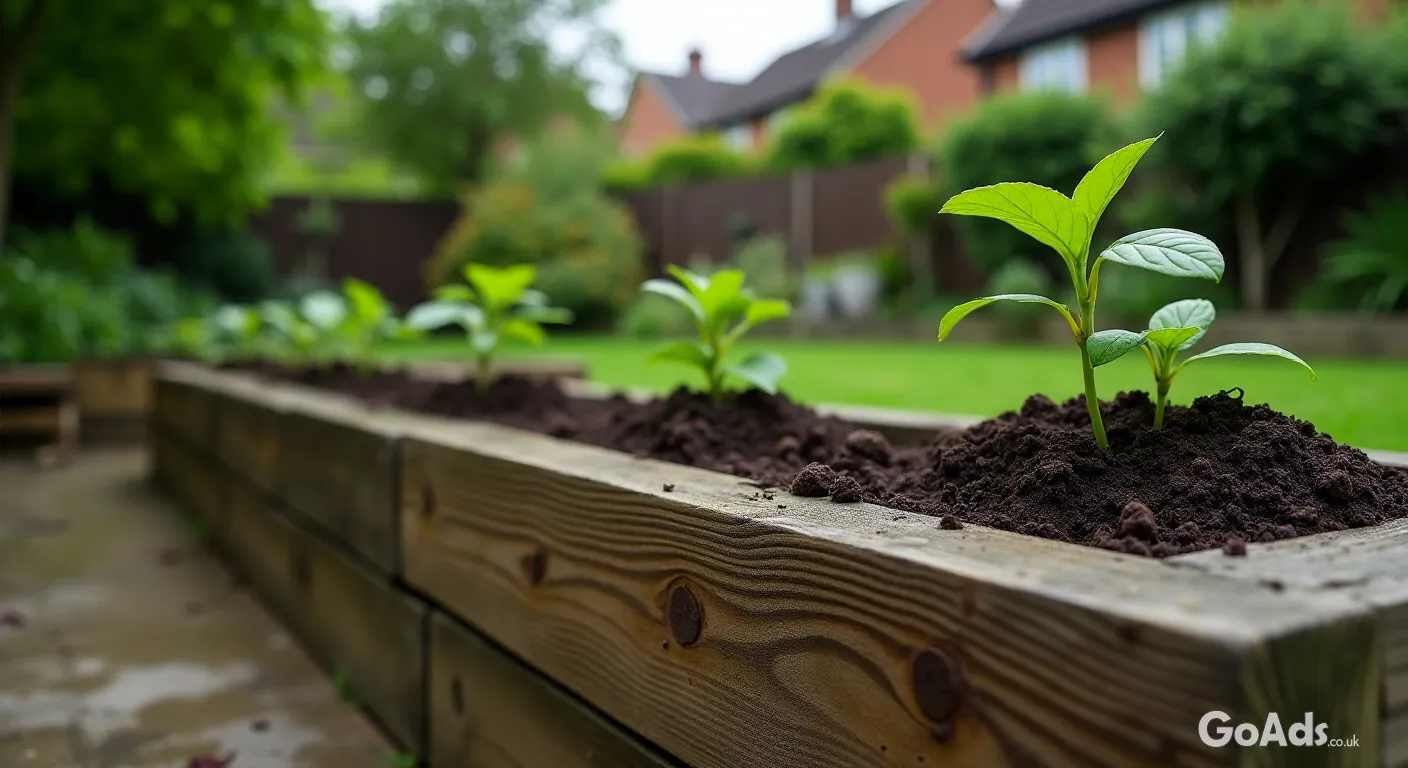
There is something incredibly satisfying about growing your own veg, but the traditional allotment-style digging isn't for everyone. Raised beds are the perfect solution for the modern British gardener. They offer better drainage, keep the soil warmer for longer, and most importantly, they save your back from hours of bending. Building them yourself doesn't have to be expensive either. By using reclaimed materials, you can create a bespoke look that adds character to your garden while staying eco-friendly.
Sourcing the Best Reclaimed Timber
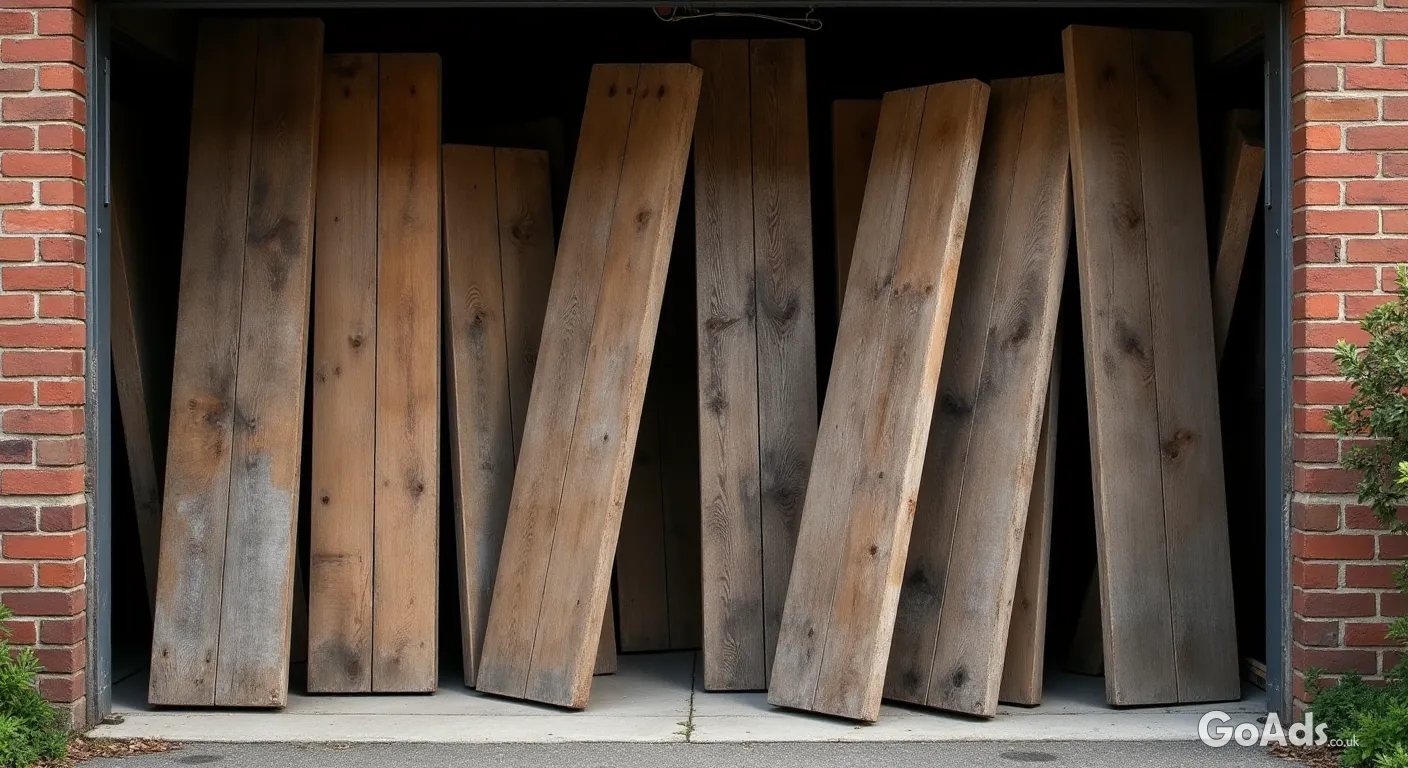
When it comes to reclaimed wood, scaffold boards are the absolute gold standard. They are usually 38mm thick, making them incredibly sturdy and resistant to bowing under the weight of wet soil. You can often find these at local construction yards or through community wood recycling projects. Before you start, make sure you have the essential DIY tools ready, such as a decent saw and a powerful drill, as older timber can be quite tough to work with.
What You Will Need for the Build
Reclaimed scaffold boards or pallet wood
Heavy-duty corner posts (4x4 timber is ideal)
Long stainless steel wood screws
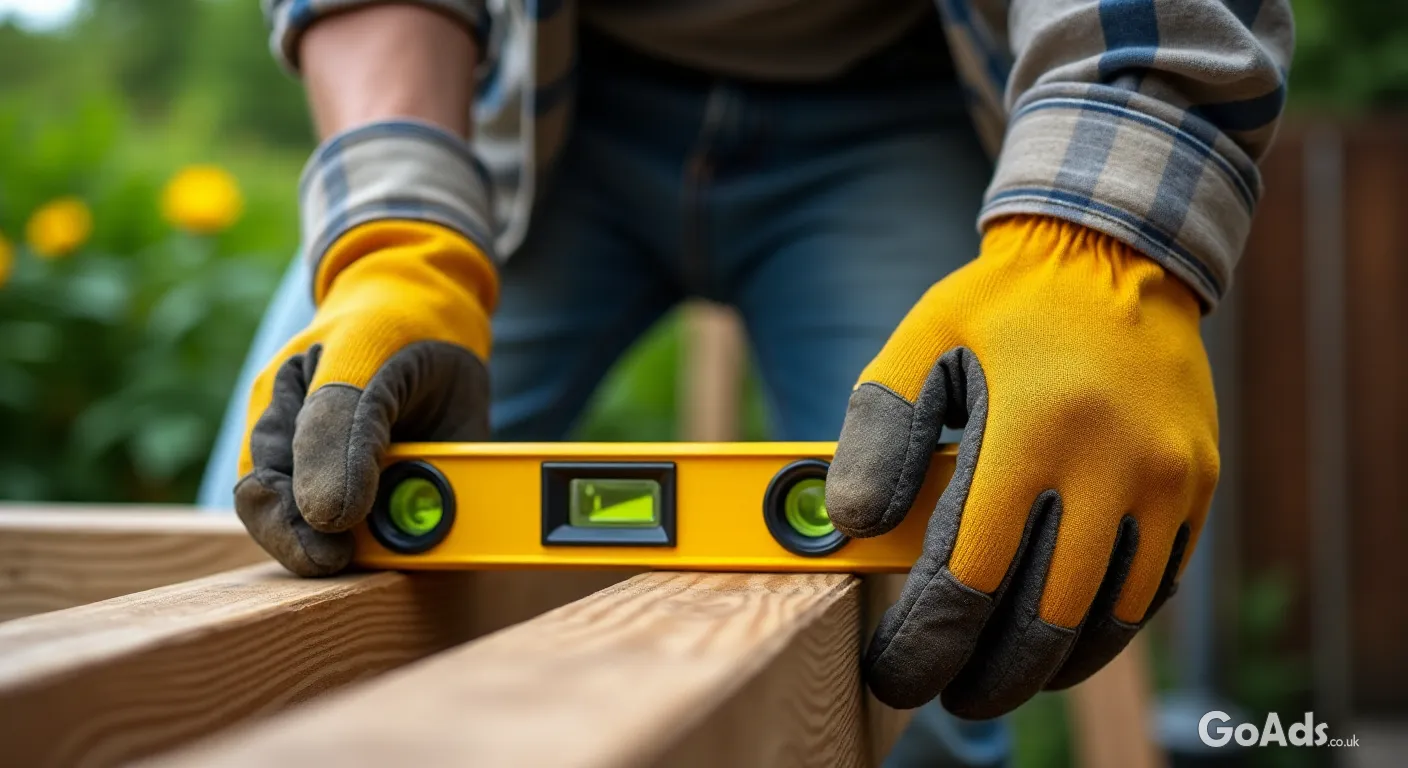
A spirit level and measuring tape
Landscaping fabric for lining
A Note on Safety and Wood Treatment
It is vital to know what your reclaimed wood was used for in its previous life. While old railway sleepers look fantastic, many were treated with creosote, which can leach into the soil and harm your plants. For edible gardens, stick to untreated timber or wood that has been heat-treated rather than chemically preserved. If you are unsure about the state of your garden or need help clearing the space first, you might consider hiring professional garden services to get the groundwork done properly.
Repurposing materials isn't just about saving money; it's about giving a second life to timber that would otherwise end up in a landfill.
Step-by-Step Assembly
Start by levelling the ground where the bed will sit. Cut your timber to length and screw the boards into your corner posts from the outside. Always pre-drill your holes to prevent the old wood from splitting. Once the frame is solid, check it with a spirit level—nothing ruins the look of a garden faster than a wonky bed! For more inspiration on outdoor projects, don't forget to browse our dedicated Garden & Home Improvement section for the latest trends and member tips.
Filling Your New Bed
Don't just dump any old soil in there. Use the 'lasagna' method: start with a layer of cardboard at the bottom to suppress weeds, then add sticks, compost, and high-quality topsoil. This creates a nutrient-rich environment that your plants will love. Once you are ready to grow, you can source some healthy vegetable plants to give your new garden feature the perfect start.
Maintaining Your Reclaimed Beds
Reclaimed wood has a beautiful, weathered patina, but to make it last, you might want to line the inside with heavy-duty plastic or landscaping fabric. This prevents the moist soil from being in constant contact with the timber, significantly extending its lifespan. With a little bit of care, your DIY raised beds will be the focal point of your garden for many seasons to come.









 Secure buying and selling
 Terms of Use
 GoAds.co.uk Facebook