The Wildlife Pond: How to Build a Thriving Water Feature on a Budget
Garden & Home Improvement
📅 2026. 04. 18.
Turn that soggy corner of your garden into a biodiversity hotspot. Here is how to build a wildlife pond using pre-loved materials and simple DIY techniques.
Why Every Garden Needs a Splash of Water
If you ask any ecologist what the single best thing you can do for your local environment is, the answer is almost always the same: build a pond. Even a tiny pool of water can transform a static garden into a bustling hub of activity. From thirsty birds to migrating newts and shimmering dragonflies, water is the magnet that pulls nature together. The best part? You don't need a massive budget or a landscape gardener to make it happen.
Siting Your Pond for Success
Before you grab a spade, you need to find the "Goldilocks" zone. Your pond needs a balance of sun and shade. Too much sun and you'll be fighting an uphill battle against green algae; too much shade and your aquatic plants won't thrive. Aim for a spot that gets about five to six hours of sunlight but is sheltered from the harshest winds. Avoid placing it directly under large trees, or you'll spend your autumn fishing out handfuls of rotting leaves.
"A wildlife pond isn't just a garden feature; it's a life-support system for your local ecosystem."
The Dig: Getting the Shape Right
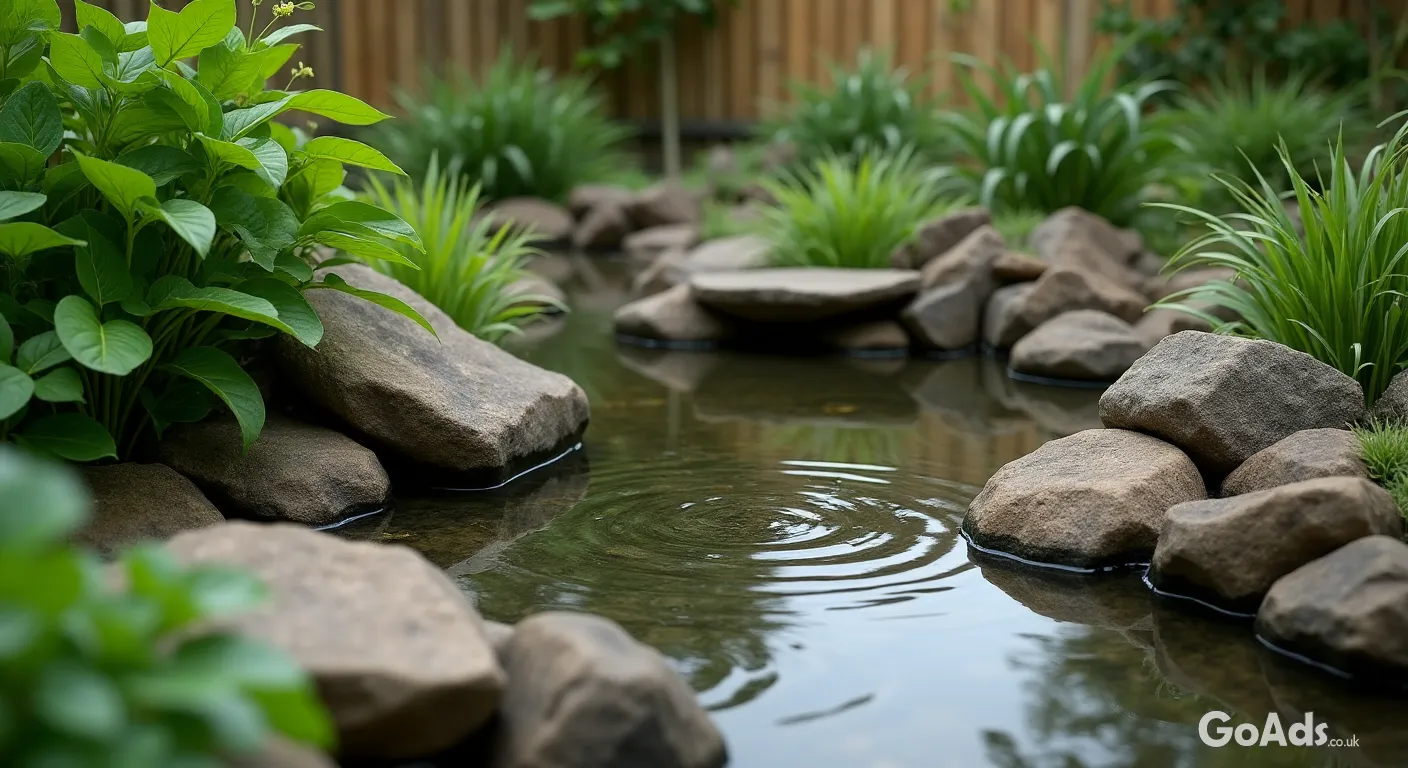
When digging your pond, think in "shelves." A wildlife pond needs varying depths to cater to different species. A deep central area (at least 60cm) ensures the water doesn't freeze solid in winter, providing a safe haven for hibernating critters. Around the edges, create shallow ledges where plants can sit. Most importantly, ensure at least one side has a gentle slope—a "beach" area—so that hedgehogs or birds that fall in can easily climb back out.
The Essential Toolkit
A sturdy spade and a spirit level.
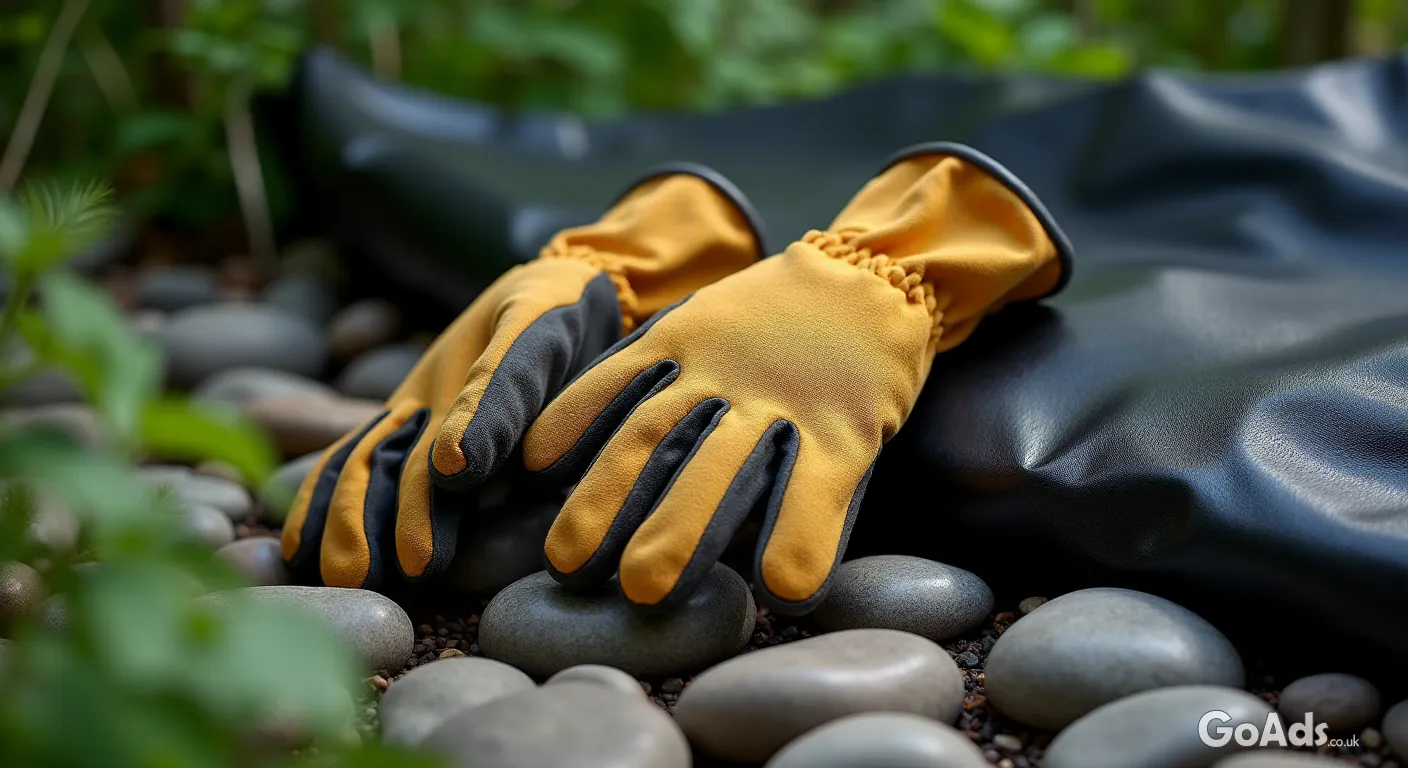
A high-quality pond liner (Butyl or EPDM are best for longevity).
Building a pond doesn't have to mean a trip to a pricey garden centre. Many people often have leftover pond liners, decorative stones, or even spare aquatic plants after their own garden renovations. Checking local listings for "pre-loved" garden supplies is a fantastic way to keep costs down and reduce waste. You can often find beautiful weathered rocks or slate that look much more natural than the brand-new, polished versions found in shops.
Lining and Levelling
Once your hole is dug and the shelves are formed, remove any sharp stones. Lay down a 5cm layer of sand or even old carpet as an underlay to protect your liner. When laying the liner, don't pull it too tight; the weight of the water will push it into the contours of the hole. Use a spirit level on a long plank of wood to ensure the edges of your pond are even all the way around—nothing ruins the look like water leaking out of one low corner!
Filling Your New Feature
If you can, fill your pond with rainwater from a water butt. Tap water contains high levels of nutrients and chlorine which can lead to early algae blooms. If you must use a hose, let the water sit for a few days before adding any plants. This allows the chemicals to dissipate. As the pond fills, tuck the edges of the liner under stones or turf to create a seamless, natural look.
Plants are the lungs of your pond. You want a mix of three types: oxygenators (which stay underwater), floating plants (like water lilies to provide shade), and marginals (for the shallow edges). Stick to native UK species like Hornwort, Marsh Marigold, and Water Forget-me-not. These will provide the best habitat for local wildlife and are much easier to maintain in our climate.
Safety First
If you have young children or pets, safety is paramount. You don't have to skip the pond entirely; consider installing a heavy-duty steel mesh just below the surface of the water. It stays invisible but provides a solid platform if someone takes an accidental tumble. Alternatively, a "container pond" using an old half-barrel can provide a safer, elevated alternative for smaller spaces.
Patience is a Virtue
One of the hardest parts of building a wildlife pond is waiting. It might look like a muddy puddle for the first few weeks, but don't be tempted to add fish. Fish are beautiful, but they are the "apex predators" of a small pond and will eat the very tadpoles and larvae you are trying to attract. For more tips on creating a nature-friendly space, check out our Garden & Home Improvement section.
The Finishing Touches
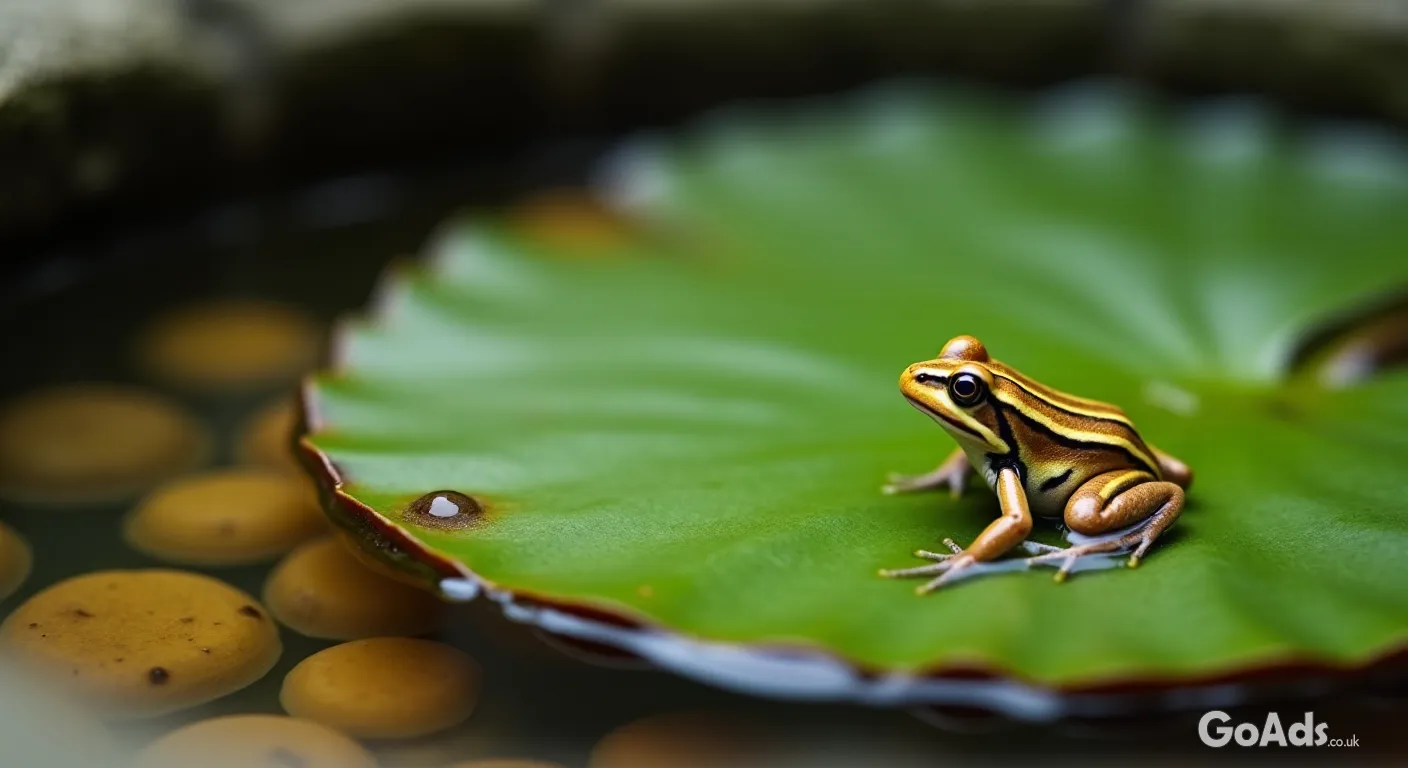
Add some log piles or a "bug hotel" near the pond edge to provide extra cover for frogs and toads as they move between the water and the rest of the garden. Within a few months, you'll likely see the first signs of life. There is nothing quite like sitting out on a summer evening and watching the surface of your own pond ripple with life—knowing you built it all yourself.







 Secure buying and selling
 Terms of Use
 GoAds.co.uk Facebook