Dine in Style: How to Restore and Protect a Pre-loved Wooden Dining Table
Home & Furniture
📅 2026. 04. 13.
A solid dining table is the heart of any home, but high-street prices can be daunting. Learn how to identify quality timber and restore a second-hand find to professional standards.
The Charm of Solid Wood
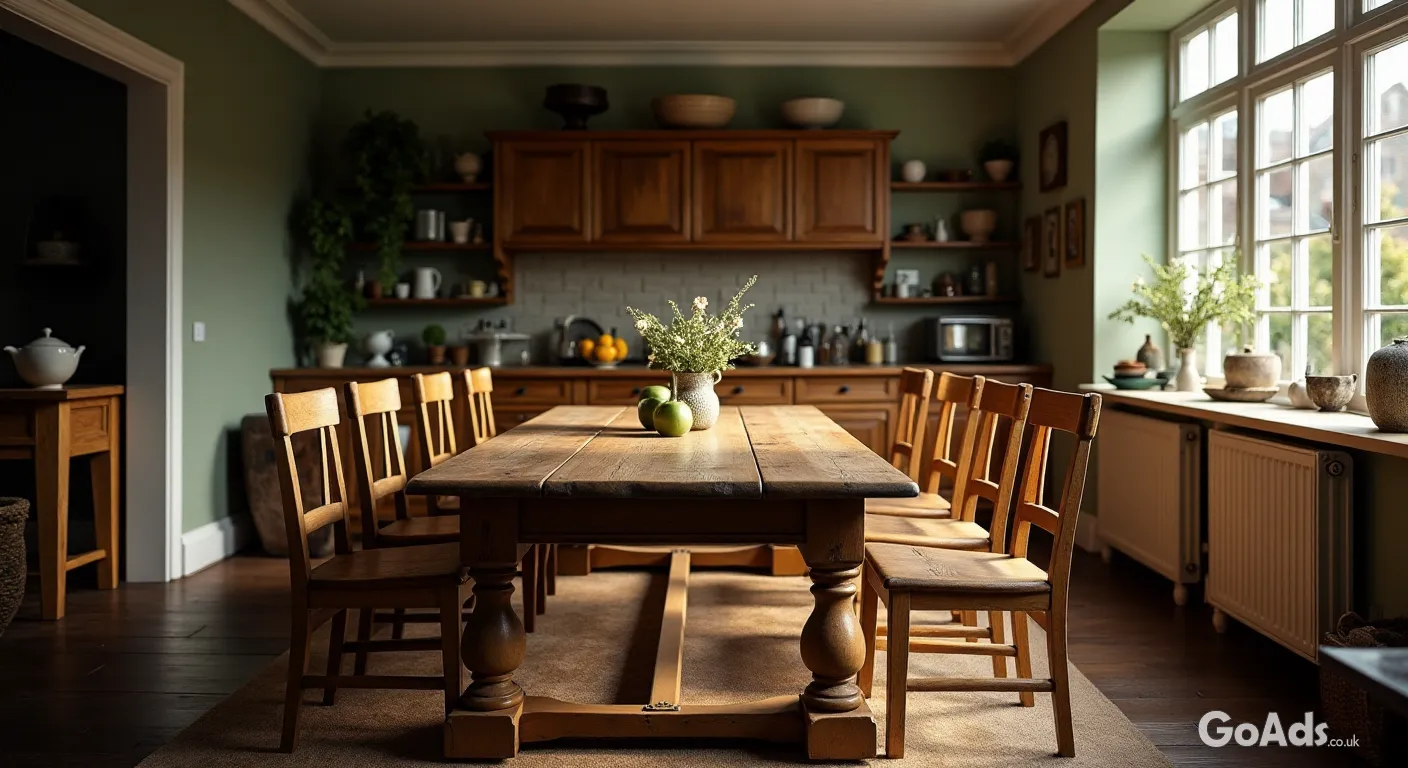
There is something incredibly satisfying about a heavy, solid wood dining table. It is the place where Sunday roasts happen, where homework is tackled, and where late-night conversations flow. However, walking into a high-end furniture showroom often comes with a hefty side of sticker shock. The good news? Some of the best-built tables are already out there, waiting for a second lease of life in the furniture classifieds. If you are willing to put in a bit of elbow grease, you can own a piece of furniture that is far superior to modern flat-pack alternatives.
Spotting a Diamond in the Rough
When you are hunting for a project, the most important thing is to look past the surface. Scratches, water rings, and even peeling varnish are all superficial. What you are looking for is "good bones." Check the underside of the table to see if it is solid timber or just a thin veneer over particle board. Solid wood will have a consistent grain and a reassuring weight. Avoid anything with structural wobbles that cannot be fixed with a simple tightening of a bolt, or signs of active woodworm (tiny, fresh-looking holes).
"Don't be put off by a table that looks unloved. A weekend of sanding and a fresh coat of oil can transform a £20 garage find into a £500 centrepiece."
Your Restoration Kit List
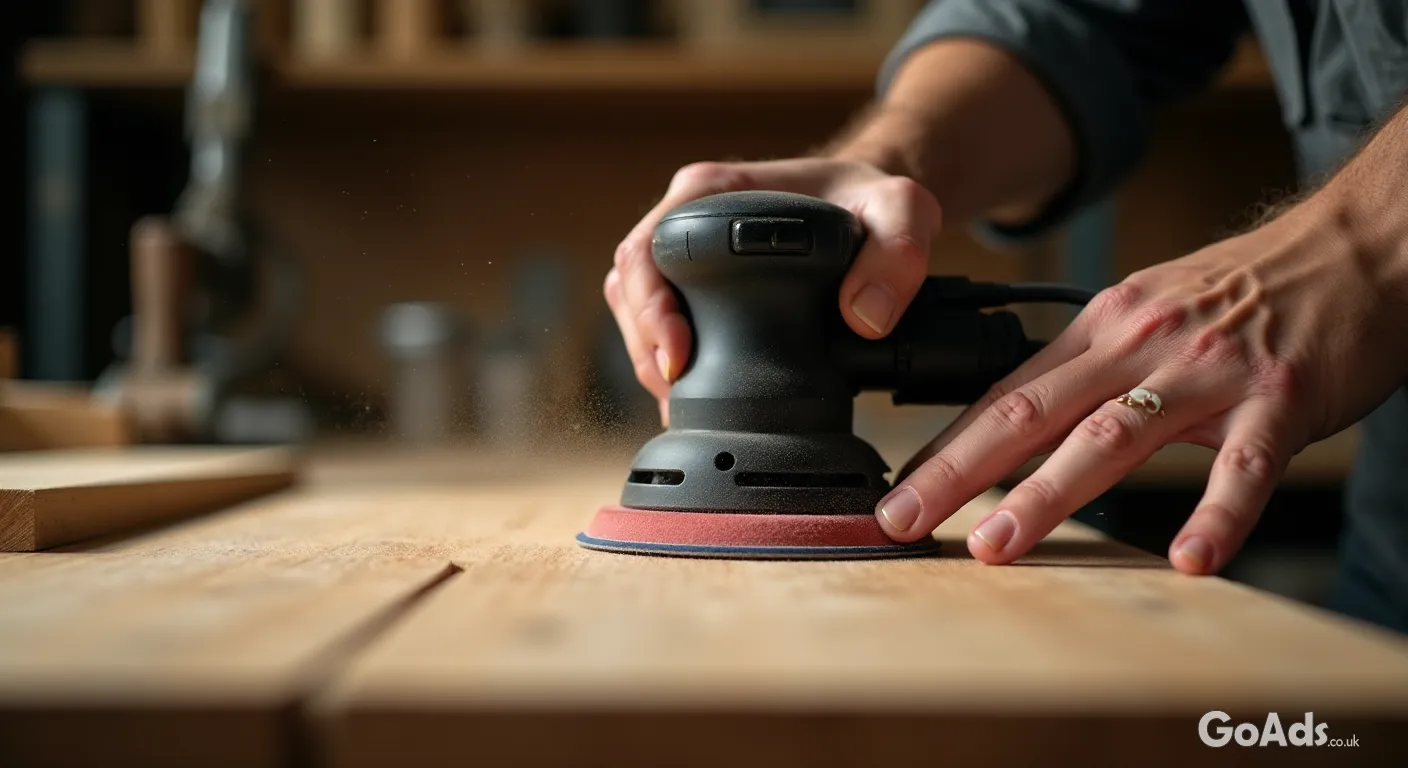
Electric orbital sander and a variety of sandpaper grits (80, 120, and 240)
Tack cloth or a damp microfibre rag to remove dust
Wood filler (colour-matched to your timber)
High-quality wood oil, wax, or polyurethane varnish
Natural bristle brushes or lint-free cloths for application
The Sanding Sequence: Patience is Key
Sanding is where the magic happens, but it is also where most beginners rush. Start with a coarse 80-grit paper to strip away the old finish and level out deep scratches. Always sand in the direction of the grain; going across it will leave marks that are a nightmare to remove later. Once the old finish is gone, move to 120-grit to smooth out the surface, and finally, finish with 240-grit for a silky-smooth touch. Between every stage, use a tack cloth to ensure every speck of dust is gone.
Choosing the Right Finish
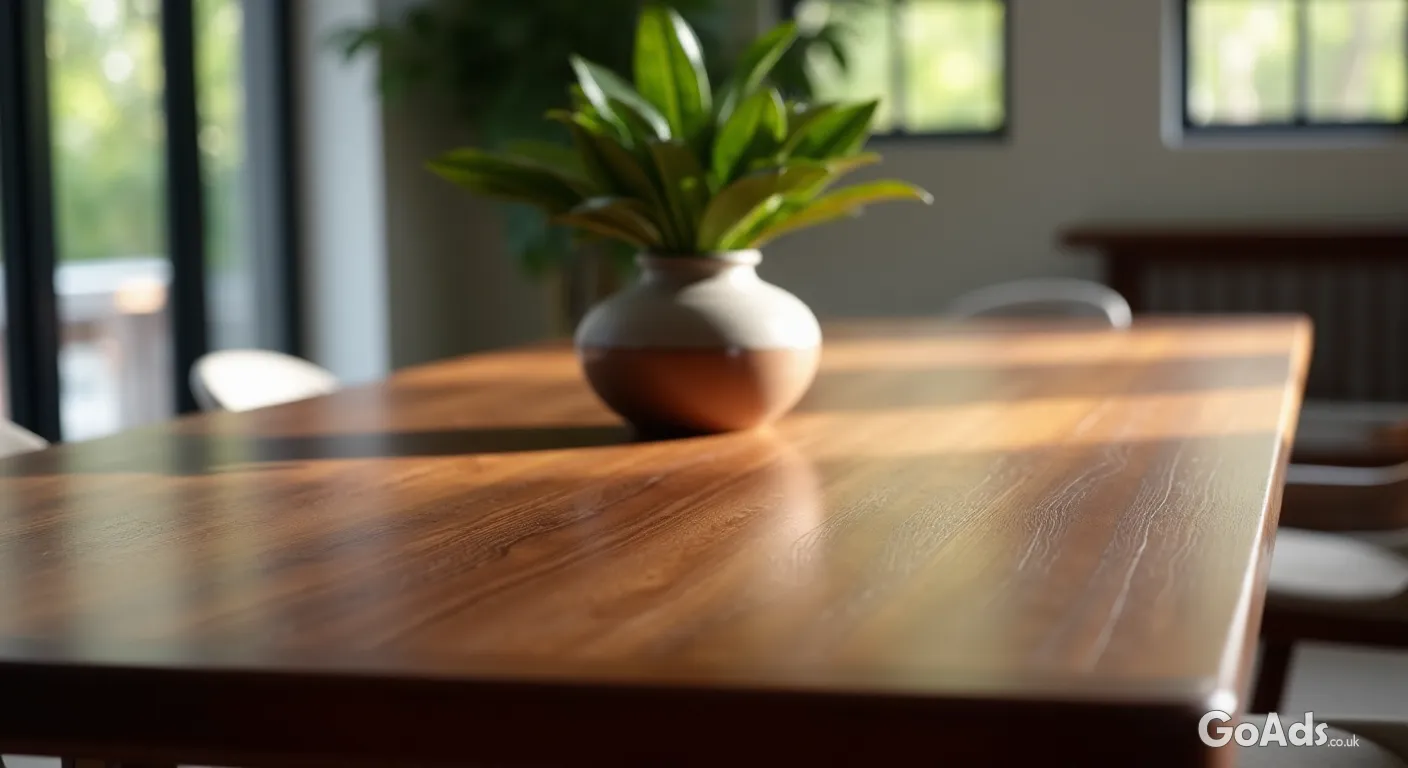
This is where you define the look of your home. Hardwax oils are a favourite among enthusiasts because they enhance the natural grain and are easy to patch-repair later if you get a fresh scratch. If you have a busy household with young children and frequent spills, a clear polyurethane varnish might be the better shout, as it provides a waterproof plastic-like seal. Whatever you choose, apply thin coats and allow for proper drying time between applications to avoid a "tacky" finish.
Long-term Care for Your Masterpiece
Now that you have put in the hard work, you want it to last. Avoid using harsh chemical sprays on your newly restored wood; usually, a slightly damp cloth is all you need. Use coasters and placemats to prevent heat damage, which can turn even the best finish white. For more tips on maintaining a beautiful home on a budget, take a look at our other guides in the Home & Furniture section.
A Sustainable Choice
By restoring a pre-loved table, you are not just saving money; you are keeping high-quality materials out of landfill and reducing the demand for new timber. It is a win for your wallet, a win for your home's character, and a win for the planet. So, grab your sander and get started—your dream dining room is just a few hours of work away.









 Secure buying and selling
 Terms of Use
 GoAds.co.uk Facebook