The Multi-Monitor Masterclass: How to Build a Pro-Grade Command Centre on a Budget
Tech & Smart Devices
📅 2026. 05. 16.
Tired of switching between tabs? Discover how to create a high-productivity multi-screen setup using affordable pre-loved hardware.
Double the Screen, Double the Focus
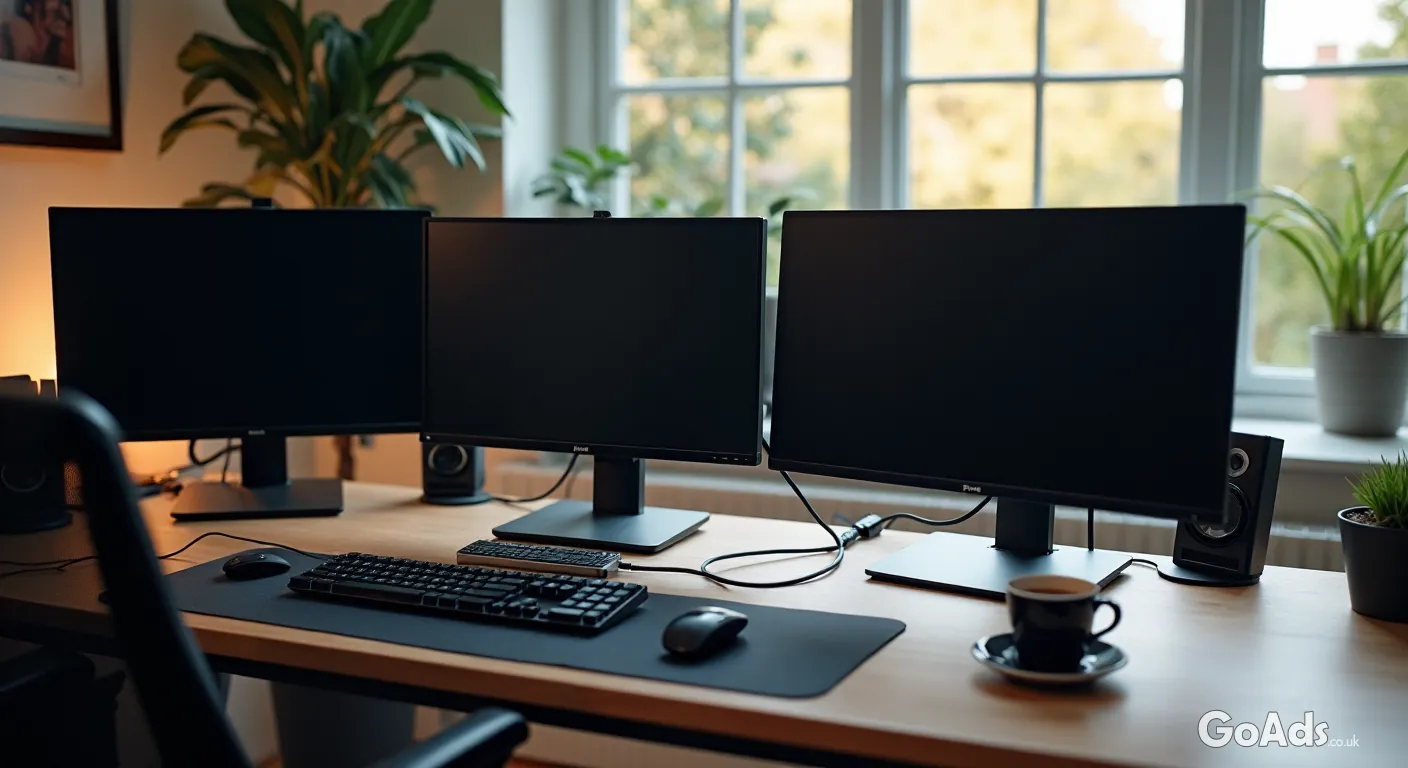
We have all been there. You are trying to write an email while referencing a spreadsheet and checking a calendar, but the constant Alt-Tabbing is making your head spin. In the world of modern computing, screen real estate is the ultimate currency. But here is the secret: you don't need to spend a month's wages on a brand-new ultra-wide display to get the job done. By sourcing a few smart pre-loved monitors, you can build a command centre that would make a Silicon Valley engineer jealous.
"The jump from one screen to two is the single biggest productivity boost you can give your home office."
Step 1: Check Your Graphical Horsepower
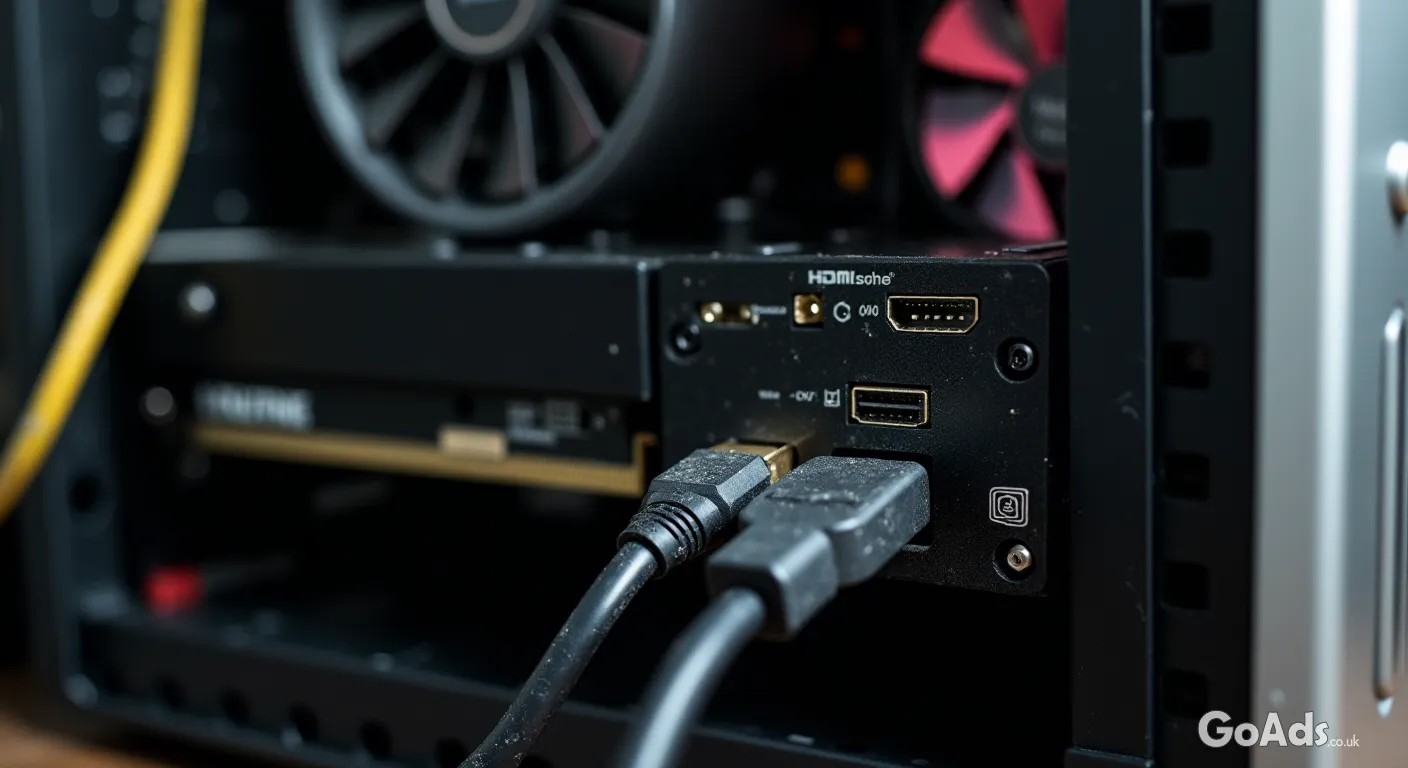
Before you start collecting screens like they are vintage stamps, you need to make sure your machine can actually handle the load. Most modern laptops can drive one extra screen through HDMI, but if you want three or four, you might need a bit of extra help. If you are using a tower system, it might be time to look for a more capable second-hand video card with multiple outputs. Look for cards that offer at least two DisplayPort or HDMI ports to ensure compatibility with modern displays.
What to Look for in a Pre-loved Screen
Resolution Matching: Try to find monitors with the same resolution (e.g., 1080p or 1440p) to avoid your mouse cursor "jumping" when moving between screens.
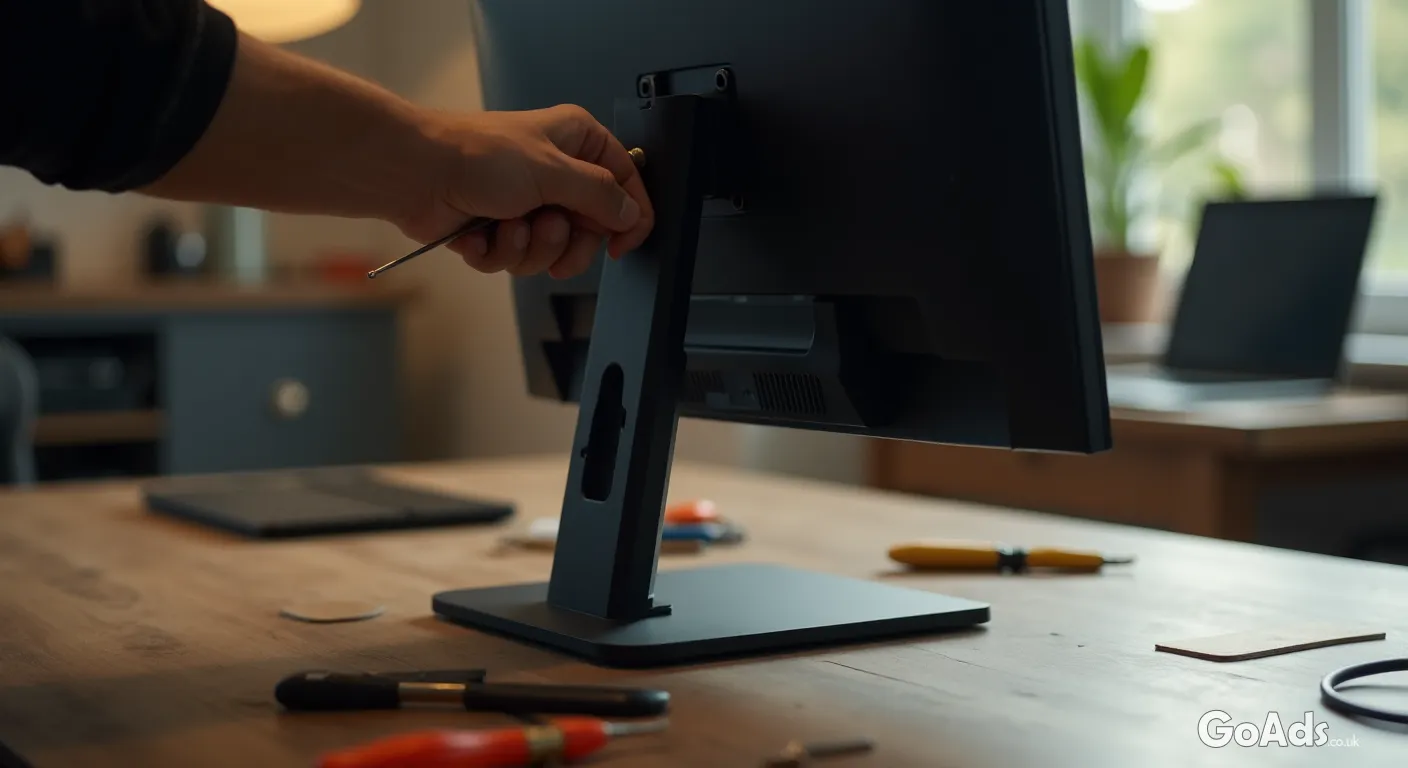
VESA Compatibility: Look for the four screw holes on the back. This allows you to mount the screens on an arm, saving massive amounts of desk space.
Panel Type: IPS panels are generally better for multi-monitor setups because they have wider viewing angles, meaning the colours won't shift when you look at a side screen.
The Art of the Alignment
The biggest mistake people make with multi-screen setups is poor ergonomics. Your main monitor should be directly in front of you, with the secondary screens tilted slightly inwards. This "cockpit" style reduces neck strain. If your monitors are different brands or sizes, don't worry! You can use the display settings in Windows or macOS to align them digitally so your windows slide across perfectly.
Pro Tip: Use a "Monitor Arm" instead of the original stands. It makes a mismatched set of screens look like a professional, cohesive workstation.
Cables, Converters, and Chaos
When you start mixing and matching tech, you will inevitably run into a port mismatch. Your PC might have DisplayPort, but that bargain monitor you found only has DVI or HDMI. Don't panic. High-quality adapters are cheap and plentiful. Just make sure you are buying the right "direction" (e.g., DisplayPort to HDMI). Keep your cable management tidy with a few Velcro ties to prevent your desk from looking like a bowl of electronic spaghetti.
Software Tweaks for the Win
Once the hardware is physically in place, it is time to optimise the experience. Use "FancyZones" (part of Microsoft PowerToys) to create custom grid layouts for your windows. This allows you to snap your browser, Slack, and Word documents into perfect positions instantly. For more advice on getting the most out of your gadgets, our Tech & Smart Devices guides cover everything from networking to hardware maintenance.
The Final Health Check
When buying a used monitor, always ask the seller for a photo of the screen turned on with a solid white background. This makes it easy to spot "dead pixels" or "backlight bleed." If the screen looks crisp and the colours are even, you have bagged yourself a bargain. Happy multitasking!










 Secure buying and selling
 Terms of Use
 GoAds.co.uk Facebook