The Digital Darkroom: How to Build a Professional Photo Editing Suite with Pre-loved Tech
Tech & Smart Devices
📅 2026. 05. 24.
Transform your photography workflow without the staggering price tag. Learn how to source and assemble a high-performance editing suite using quality pre-loved components.
The High-Spec Dream on a Real-World Budget
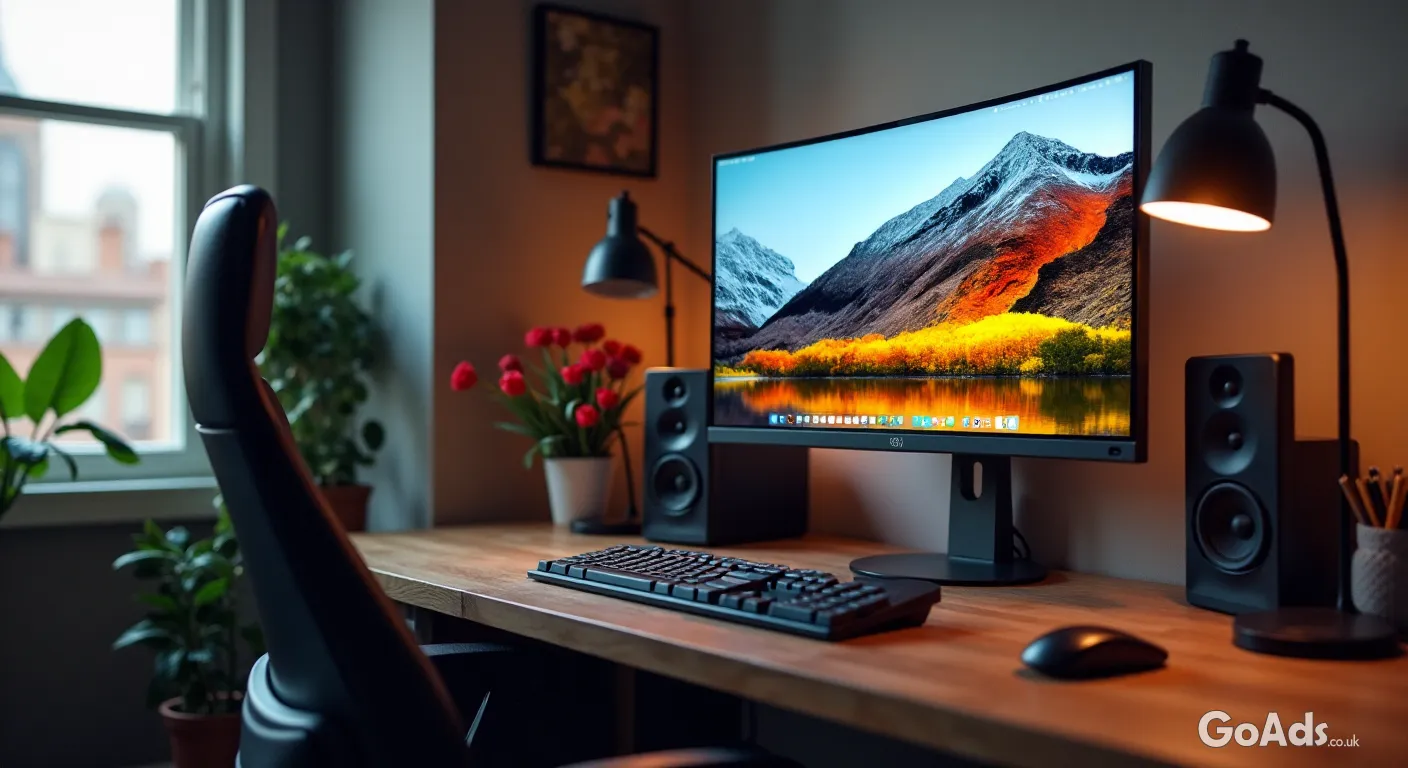
Whether you're a budding enthusiast or a seasoned pro, the hunger for more processing power and colour accuracy is real. But here's the secret: you don't need to drop five figures on a brand-new setup to get professional results. By being savvy with your choices, you can curate a "Digital Darkroom" that rivals the best studios while keeping your bank balance healthy.
Start with the Brains of the Operation
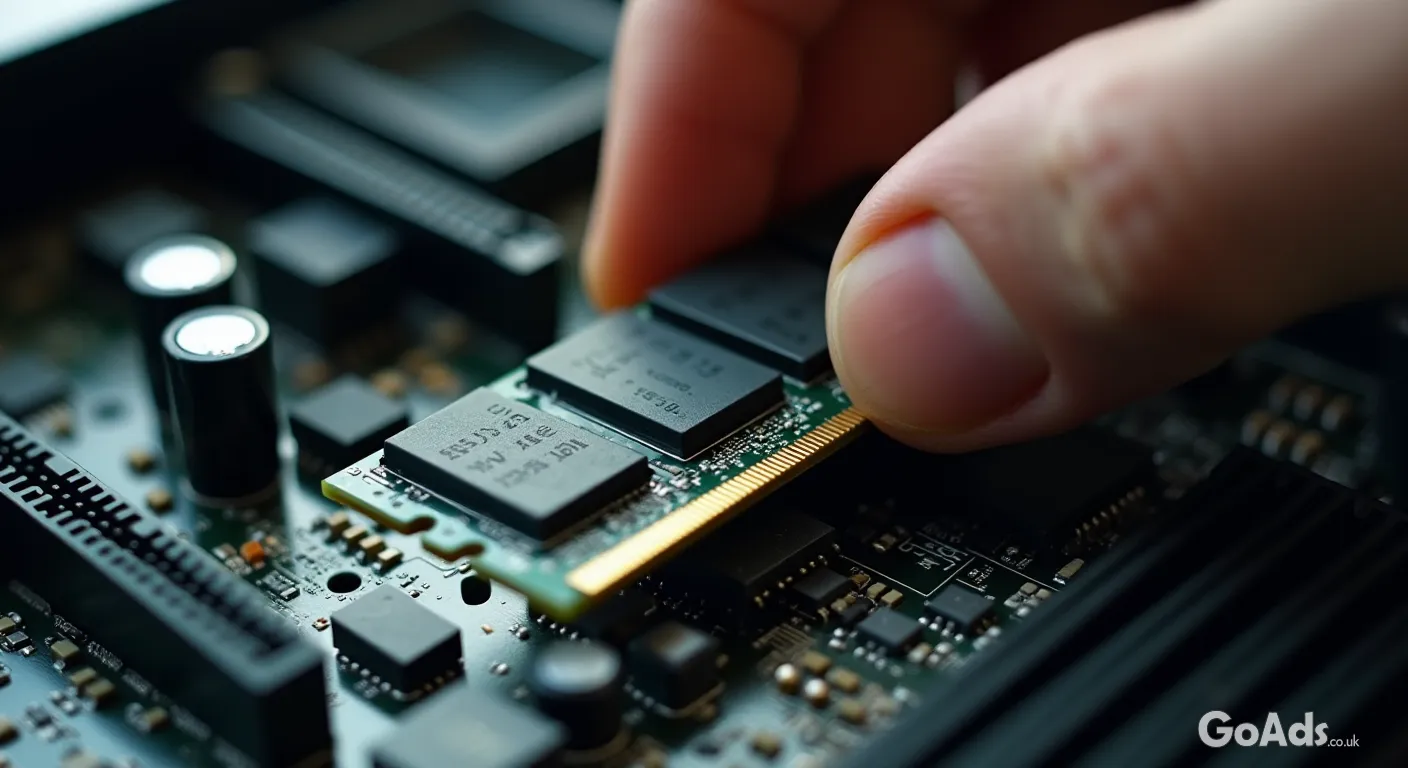
When it comes to photo editing, your processor (CPU) and memory are the heavy lifters. Modern software is hungry, but a chip from a couple of years ago can still fly through RAW conversions. If you're building from scratch, finding a reliable second-hand motherboard is the perfect foundation for a custom-built workstation that you can upgrade over time.
What to Prioritise in Your Build
RAM is King: Aim for at least 32GB if you work with high-resolution files or layers.
IPS Panels: Only look for monitors with In-Plane Switching for the best colour accuracy and viewing angles.
SSD Storage: Never run your OS or active projects off a mechanical drive; speed is essential.
The Secret to Smooth Performance
While many think a top-tier GPU is only for gamers, photo editors benefit immensely from hardware acceleration. Sourcing a pre-loved video card can significantly reduce the time it takes to apply complex filters or export large galleries. Look for cards with at least 8GB of VRAM to ensure your software runs without a hitch.
"The best equipment is the gear you have with you, but the best editing suite is the one that doesn't lag when you're in the creative flow."
Monitor Calibration: The Pro's Secret
A second-hand high-end monitor is a steal, but it might have shifted in colour over time. Investing in a used calibration tool (a colorimeter) is the single best move you can make. It ensures that the deep forest green you see on your screen is exactly what comes out of the printer or appears on your client's device.
Don't Forget the Input
Editing with a standard mouse can be a literal pain. Many pros swear by graphics tablets. These often appear on the secondary market in "as-new" condition because someone bought one and couldn't get used to the learning curve. Their loss is your gain! A tablet allows for pressure-sensitive masking that a mouse simply cannot replicate.
Building Your Ecosystem
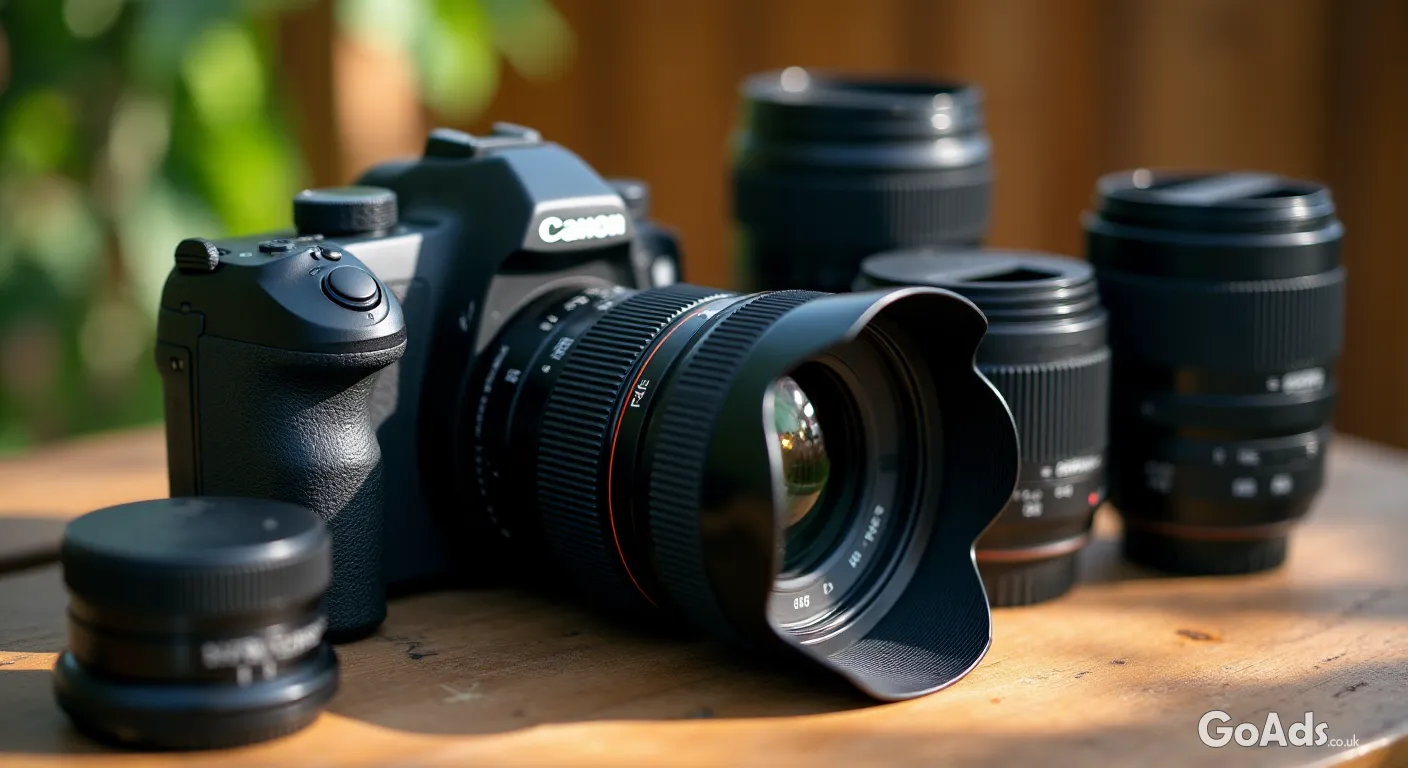
Once your desk is sorted, you can focus on the glass. A quality used camera combined with a well-specced editing PC is a formidable combination. Remember to check the shutter count and sensor cleanliness when buying, but don't be afraid of older pro-body models; they were built to last a lifetime.
Ask for Benchmarks: When buying a PC or component, ask the seller for a quick stress-test screenshot.
Check the Ports: Ensure HDMI and DisplayPorts aren't wobbly or damaged.
Check for Dead Pixels: Always run a "dead pixel test" on any used monitor before handing over the cash.
Future-Proofing Your Workspace
The beauty of a component-based setup is that it grows with you. Instead of replacing a whole laptop, you can simply swap out the RAM or add another SSD. For more tips on maintaining your gadgets and staying ahead of the curve, check out our dedicated tech and smart devices section for the latest guides.
Final Thoughts
Building a professional-grade editing suite is about balance. You don't need the latest flagship if a two-year-old pro-grade component does the job better for half the price. Focus on colour accuracy, storage speed, and ergonomic comfort, and you'll be producing gallery-worthy work in no time.















 Secure buying and selling
 Terms of Use
 GoAds.co.uk Facebook