The Space-Saving Cycle Solution: How to Build a Bespoke Vertical Bike Rack
DIY Projects
📅 2026. 05. 05.
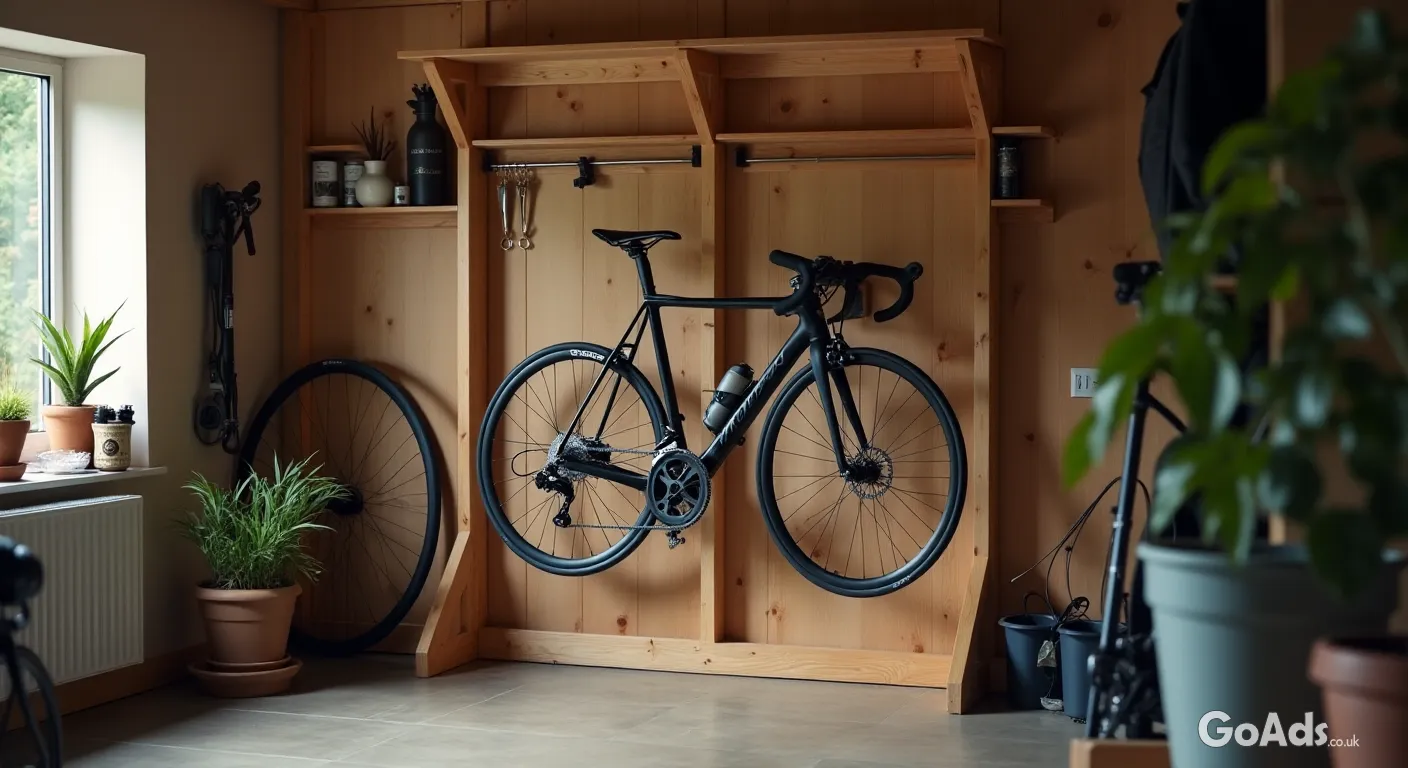
Tired of tripping over handlebars in the hallway? Reclaim your floor space with a sturdy DIY vertical bike rack that looks professional and saves your walls.
The Great Indoor Obstacle Course
If you live in a typical British terrace or a flat, you know the struggle: the hallway has become a permanent obstacle course of handlebars, muddy tyres, and tangled pedals. Leaving your pride and joy outside isn't always an option, but keeping it indoors shouldn't mean sacrificing your living space. The solution? Stop thinking horizontally and start thinking vertically.
Building your own vertical bike rack is a fantastic weekend project that requires minimal tools but offers maximum reward. Not only does it keep your tyres off the carpet, but it also turns your bicycle into a bit of a wall-mounted feature. Let's get stuck in.
What You'll Need
A length of planed timber (roughly 15cm wide and 2cm thick)
Before you start drilling holes in your walls, you need to measure your bike. Hold it vertically against the wall (front wheel up) to see exactly how much height you need. You want the back wheel to rest comfortably against the bottom of your timber backboard to prevent tyre marks on your paintwork.
Cut your timber to a length that spans from just above the front wheel to just below the rear wheel contact point. Sand the edges for a smooth finish and apply a quick coat of stain to match your decor. It's these little touches that make a DIY project look like a professional installation.
Pro Tip: Always check your wall type before you begin. If you are mounting to plasterboard, you must find the timber studs or use specialised heavy-duty anchors. A heavy mountain bike will pull a standard plug straight out of the wall.
Step 2: Mounting the Backboard
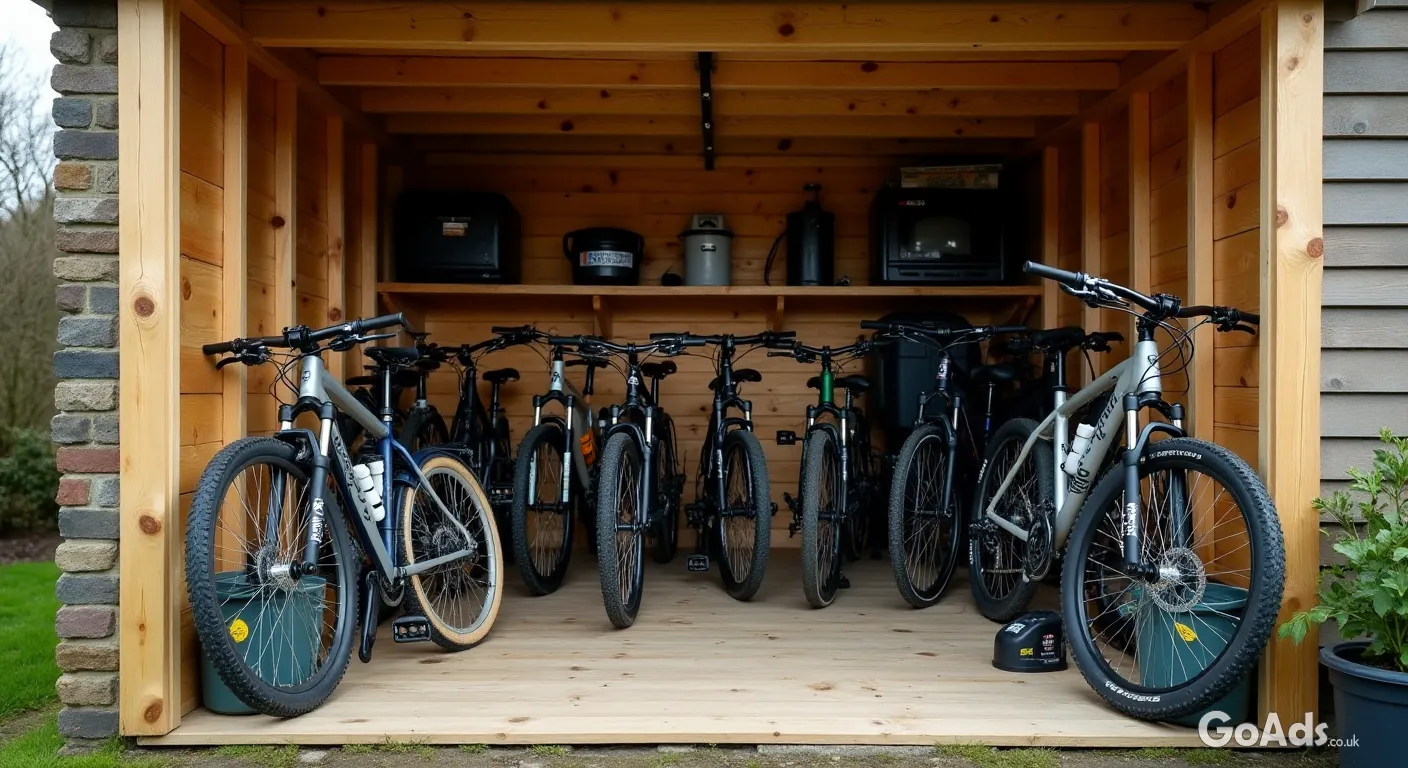
Using your spirit level, mark out where your timber backboard will sit. This board serves two purposes: it provides a solid mounting point for the hook and protects your wall from muddy tyre tracks. Drill pilot holes into the timber and then secure it firmly to the wall. If you are storing multiple bicycles and accessories, space the boards about 40-50cm apart to ensure the handlebars don't clash.
Step 3: Installing the Hook
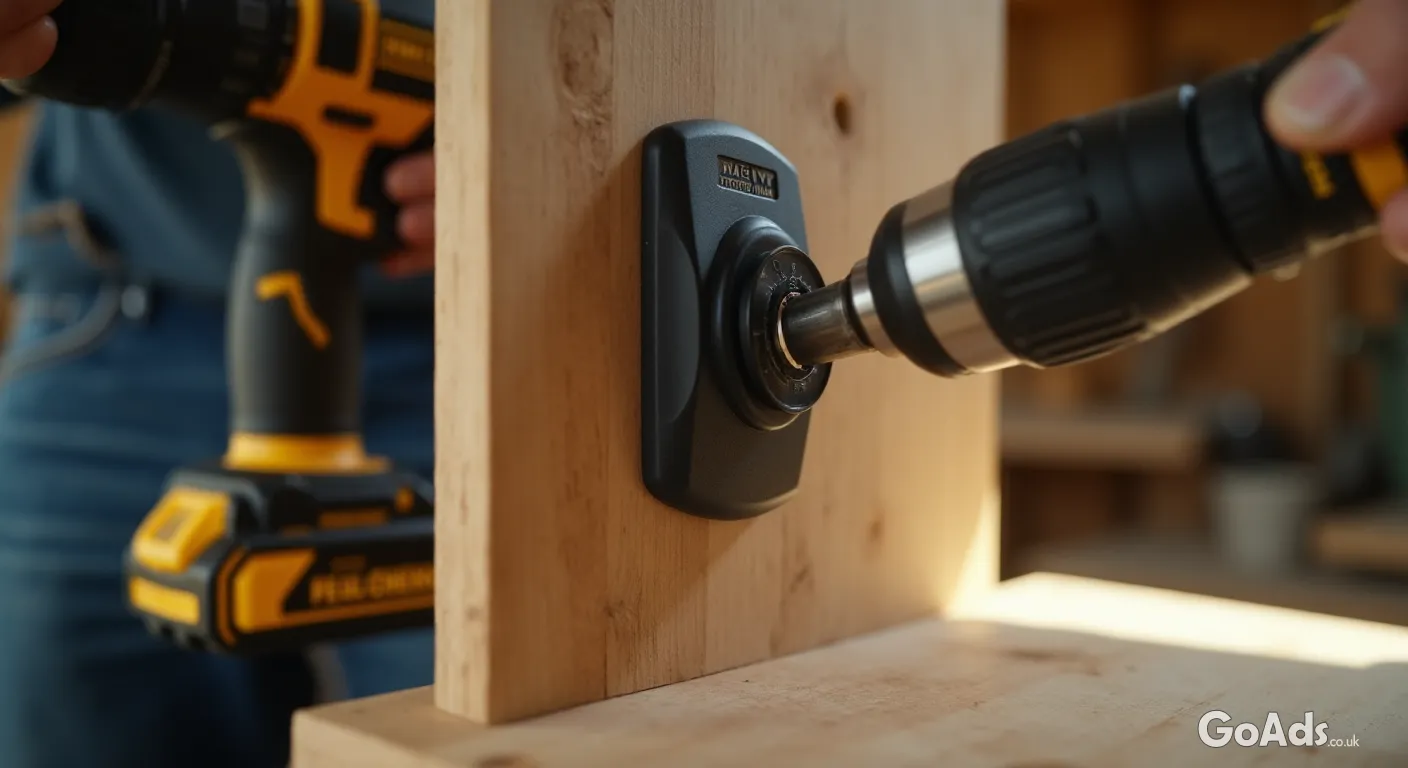
Now for the main event. Position your rubber-coated hook at the top of the timber board. Make sure it's high enough that the bike hangs with the rear wheel just a few inches off the floor, or resting lightly against the bottom of the board. Screw the hook directly into the timber. The rubber coating is essential as it protects your wheel rims from scratches over time.
The Finishing Touches
Add a small wooden "cradle" at the bottom to keep the rear wheel perfectly centred.
Install a small shelf above the rack for your helmet and lock.
Paint the backboard in a contrasting colour to make it a design feature.
For more inspiration on improving your home storage, check out our other DIY projects section for clever hacks and budget-friendly upgrades.
Clear Floor, Clear Mind
Once your bike is up on the wall, you'll be amazed at how much larger your hallway or garage feels. It makes cleaning the floors easier and keeps your bike safe from accidental knocks. Plus, there is a certain satisfaction in seeing your gear neatly organised and ready for your next ride. Happy building!









 Secure buying and selling
 Terms of Use
 GoAds.co.uk Facebook