The Radiator Refresh: How to Build a Custom Cover that Boosts Heat and Style
DIY Projects
📅 2026. 04. 26.
Tired of looking at ugly metal radiators? Learn how to build a bespoke cover that adds character to your home while maintaining heating efficiency.
Why the Humble Radiator Cover is a Game Changer
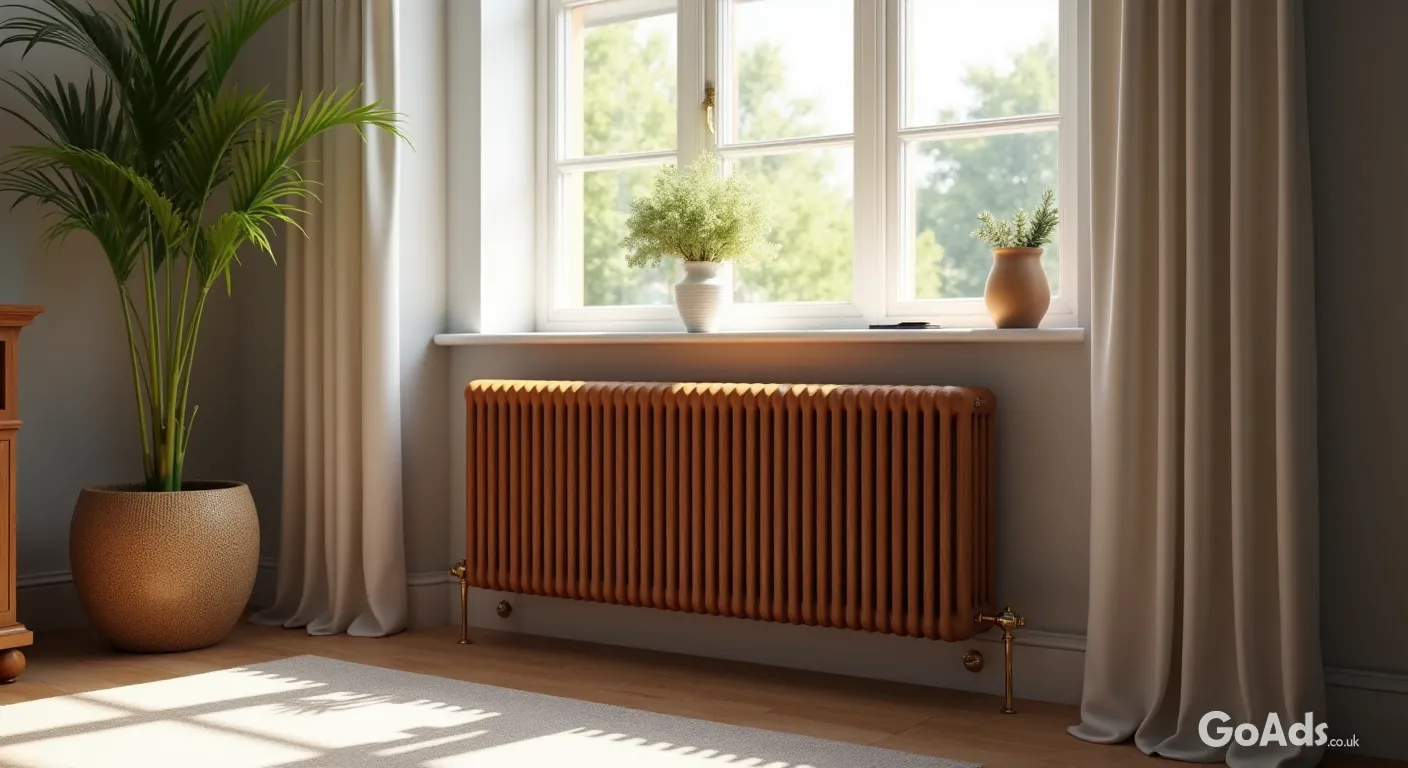
Let's be honest, unless you live in a high-end architectural marvel, your radiators are likely white, metal, and somewhat uninspiring. They do a grand job of keeping us warm during a damp British spring, but they aren't exactly style icons. A custom-built radiator cover can transform a room from "functional" to "finished" in a single weekend. It provides an extra shelf for your bits and bobs and hides the utilitarian pipework that often collects dust.
The Secret to Efficient Heating
Many people worry that covering a radiator will make their house colder. If you do it wrong, it might. But if you do it right, you can actually improve the convection flow. The key is leaving enough space at the bottom for cool air to be drawn in and enough space at the top (and through the front mesh) for the warm air to escape. When you are scouting for materials in the Home and Garden category, look for decorative grilles that offer at least 50% open area.
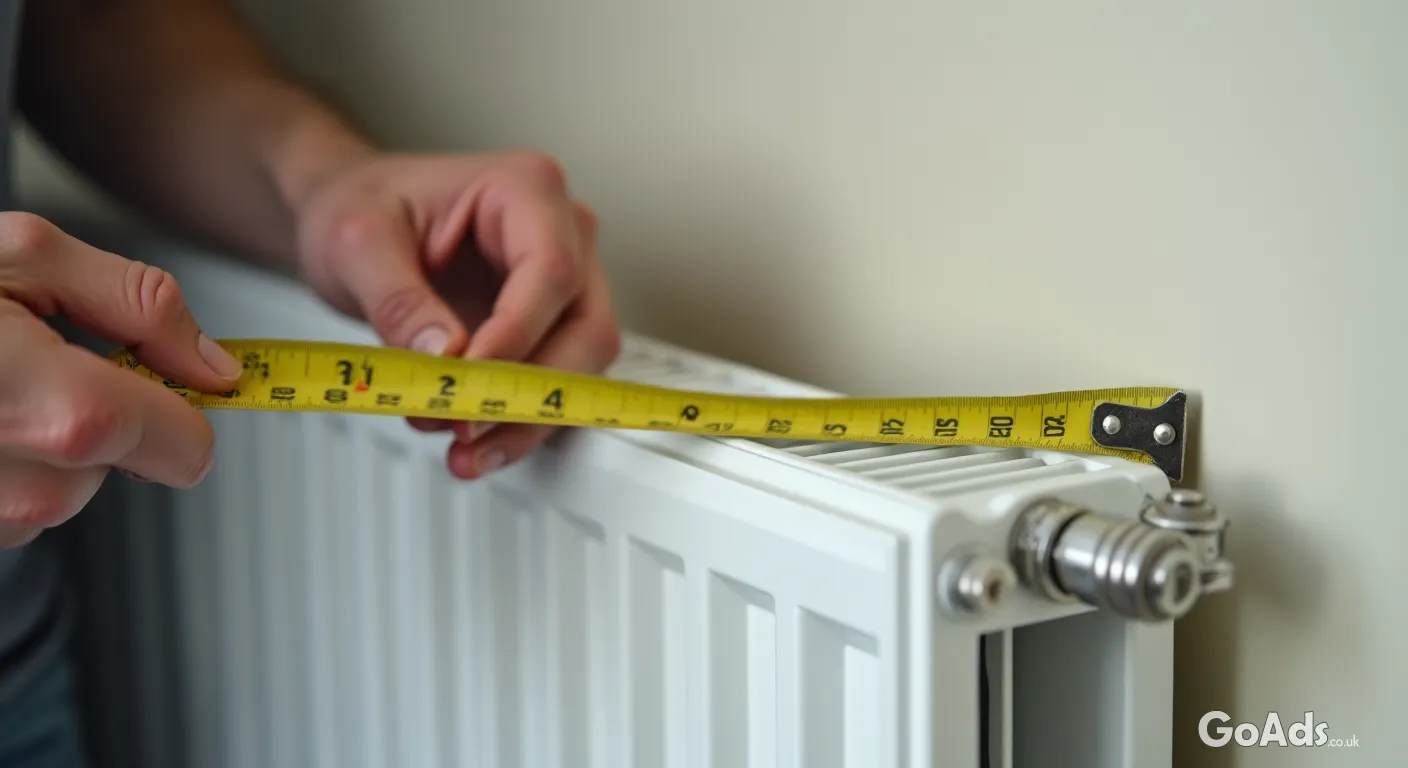
"Measure twice, cut once – the golden rule of DIY that saves you a trip to the timber yard and a lot of frustration."
Step 1: The Master Measurements
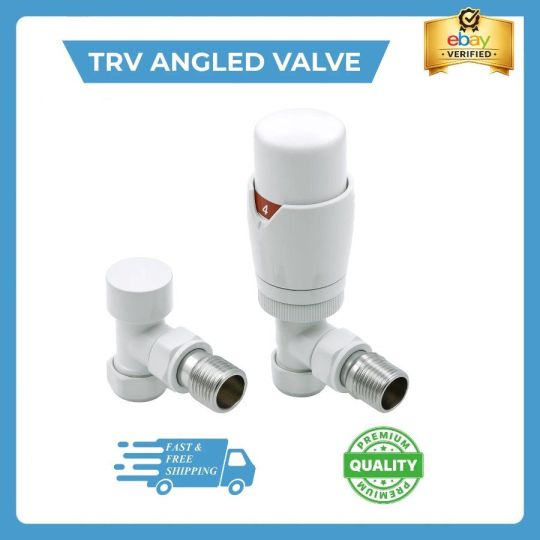
Start by measuring the height, width, and depth of your radiator. You need to add a bit of "breathing room" to these figures. Usually, adding 50mm to the width, 30mm to the height, and 20mm to the depth is the sweet spot. Don't forget to account for the valves at the side and the skirting board at the bottom! You want your cover to sit flush against the wall, so you will need to cut a notch out of the side panels to fit over the skirting.
What You Will Need
18mm MDF or furniture-grade plywood for the frame
Decorative mesh or perforated hardboard for the front
Wood glue and pocket hole screws (or simple L-brackets)
A jigsaw or circular saw
Sandpaper (120 and 240 grit)
Primer and your choice of topcoat paint
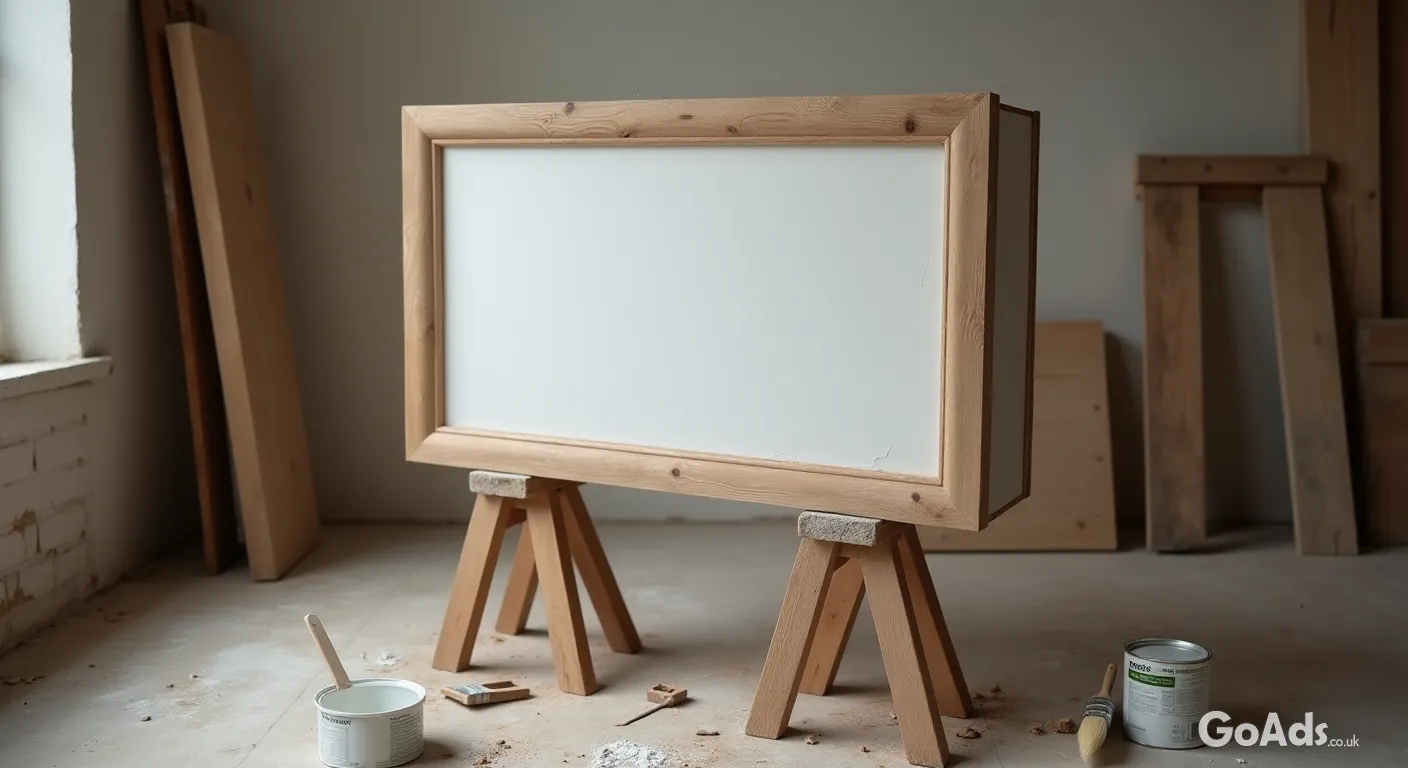
Step 2: Building the Frame
Cut your two side panels and the top shelf first. If you want a professional look, overhang the top shelf by about 10-20mm on the front and sides. Connect the sides with two horizontal rails—one at the top and one at the bottom. This creates the "window" where your mesh will sit. For more inspiration on upgrading your living space, check out our Garden and Home Improvement section for similar project ideas.
Step 3: The Decorative Infill
Once your frame is assembled and the glue is dry, it's time for the mesh. You can buy pre-cut decorative panels or even use woven cane for a more bohemian vibe. Staple the mesh to the back of the front rails. Pro tip: if you use metal mesh, make sure there are no sharp edges sticking out that could snag your hoover or a stray sock!
Step 4: Finishing Touches
Sand everything down until it's smooth as silk. MDF is particularly thirsty, so use a dedicated MDF primer before applying your final colour. You might want to match the cover to your wall colour for a "built-in" look, or go for a bold contrast. While you are at it, ensure your new furniture doesn't block the light, perhaps by browsing new lamp and lighting options to complement the refreshed look of your room.
"A radiator cover isn't just furniture; it's a clever bit of camouflage that turns a heater into a hallway console table."
Safety and Maintenance
Always ensure your cover is easily removable. You will still need to access the valves to bleed the radiator occasionally. Use magnetic catches or simple "hook and eye" latches to keep it secure against the wall but easy to pop off when needed. Also, keep an eye on the wood over the first few weeks of the heating season; the constant temperature changes can sometimes cause minor warping if the wood wasn't properly seasoned or sealed.
The Result
There you have it! A bespoke piece of furniture that hides the ugly bits and gives you a new surface for photos, candles, or your keys. It’s a low-cost, high-impact project that proves you don’t need a massive budget to make your house feel like a curated home. Happy building!